|
I didn't come into this photography course with a great attitude. I struggled monumentally with black and white film photography, and I don't enjoy not having something come easily to me. Part of this course deals with Photoshop, which is a program that I had absolutely no experience with before this class. All aspects of this class made me nervous. I almost dropped it during the first week of the trimester, but gradually we were introduced to cameras, and I actually had an understanding of what was going on. Because I had just taken a different photography class, I knew the basics. It allowed me to get ahead in the class, which is a contrast to how I was in black and white photography. I wasn't struggling because I was behind. I remember the first day we took out the cameras. Being used to SLR film cameras kind of ruined my expectation for digital cameras. When we pulled out these tiny point and shoot cameras, I thought they were the most bizarre looking things ever. The first Photoshop assignment. I don't think any school assignment has ever made me so anxious. It wasn't even just one assignment. At least seven over the course of a trimester on an application that I've never used, never wanted to use. I'm laughing at myself looking back at how I reacted. The class is for beginners in both the photography and Photoshop aspect. The first Photoshop assignment passed by in a breeze of demos and step-by-step instructions. I knew that I was really going to improve as a photographer when we started off the class with the composition assignments. Also, being able to pick what assignments we were doing week to week really allowed me to bring out my creative side. The freedom to choose and be in complete control of what I wanted to do really helped my confidence and how much I like photography. By the end of the trimester, we would turn in one photo assignment and the next day I'd already be thinking about what I wanted to shoot for next weekend. Definitely not the same feeling I had in black and white photography. I feel very comfortable in Photoshop too. I started off not knowing how to do anything, but now I finish Photoshop assignments within one or two days of being assigned. I also don't have to rely so heavily on the directions. Overall, I feel that I've improved in my range of photography, and I have a much better understand of Photoshop.
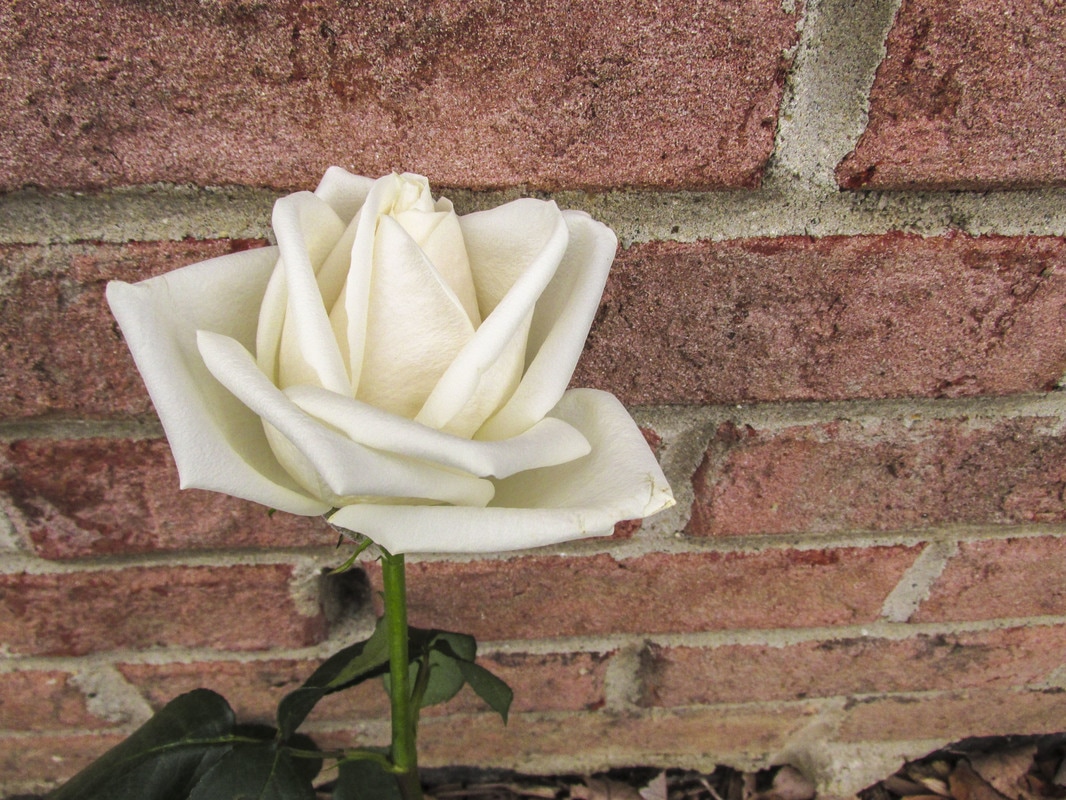
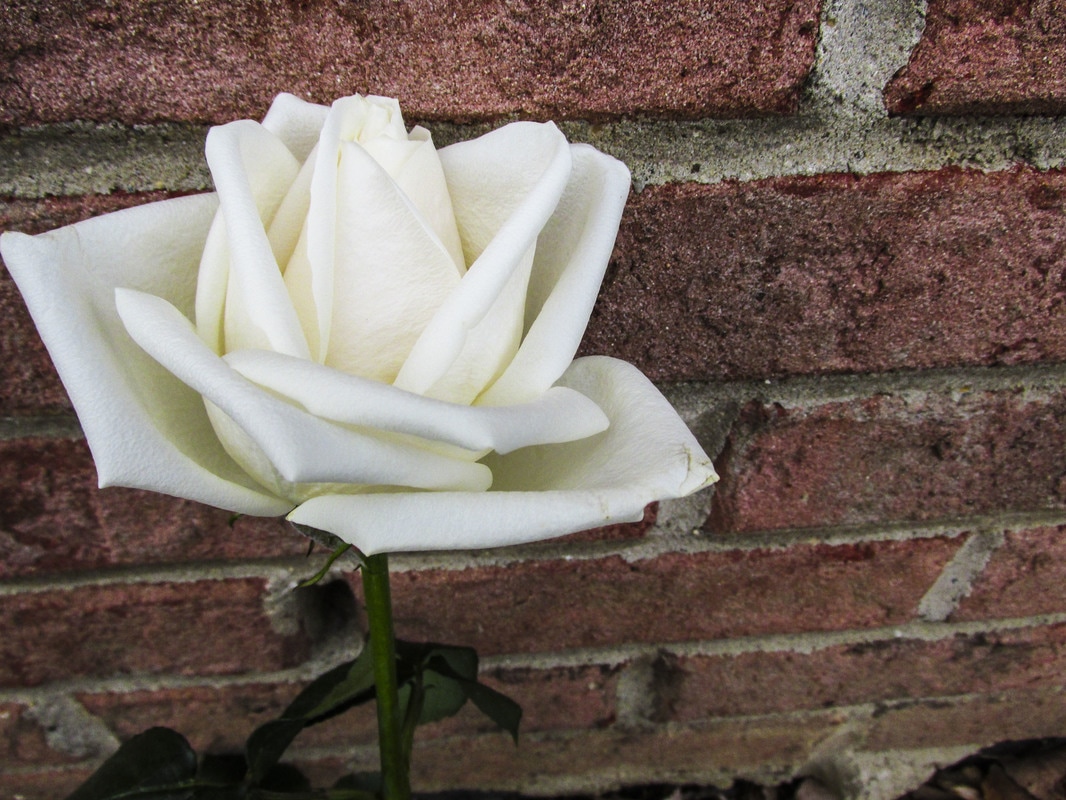
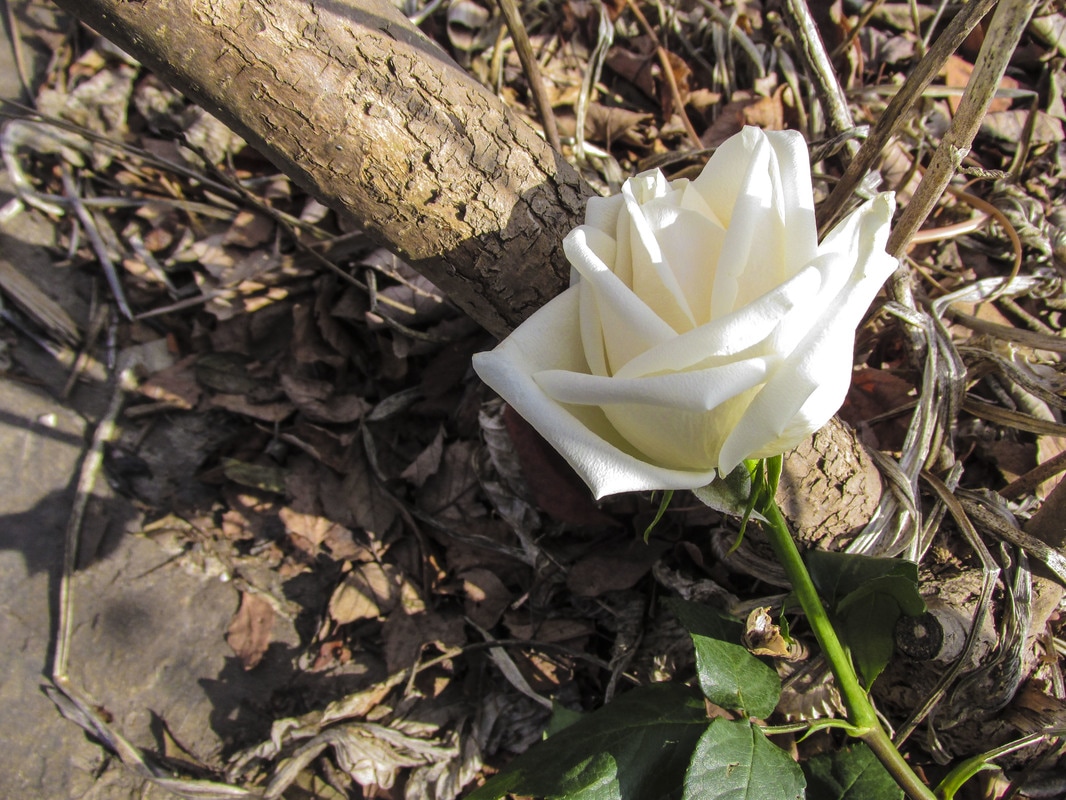
0 Comments
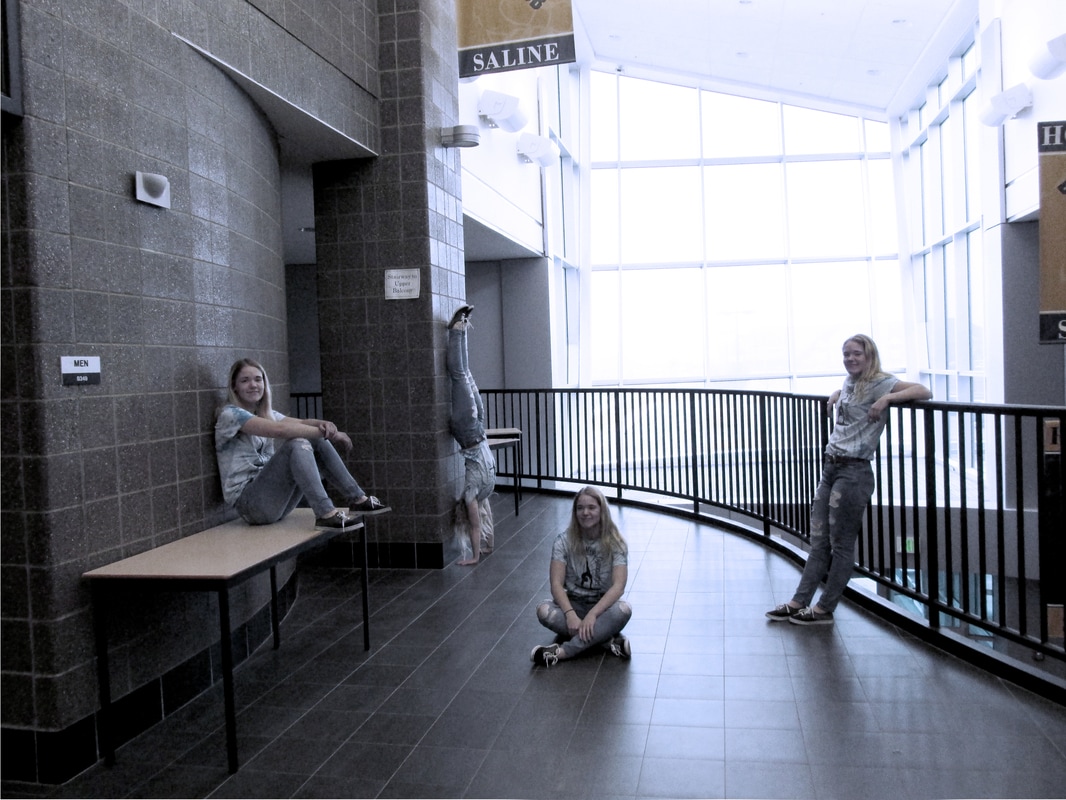
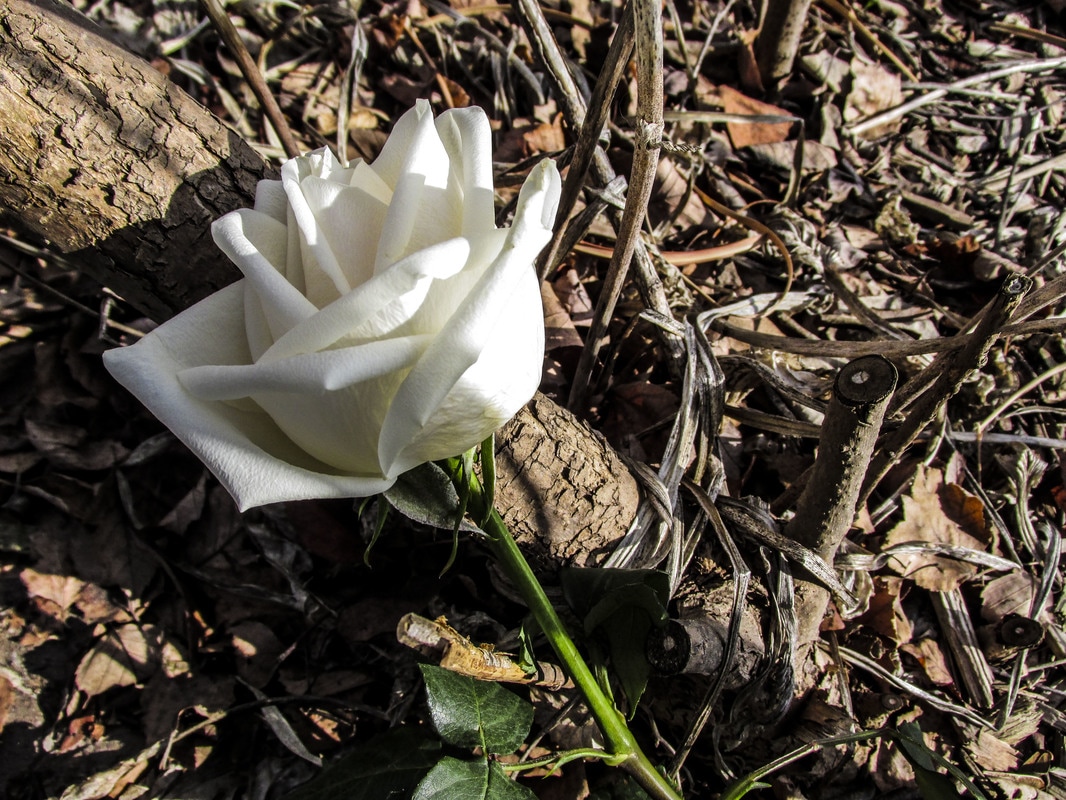
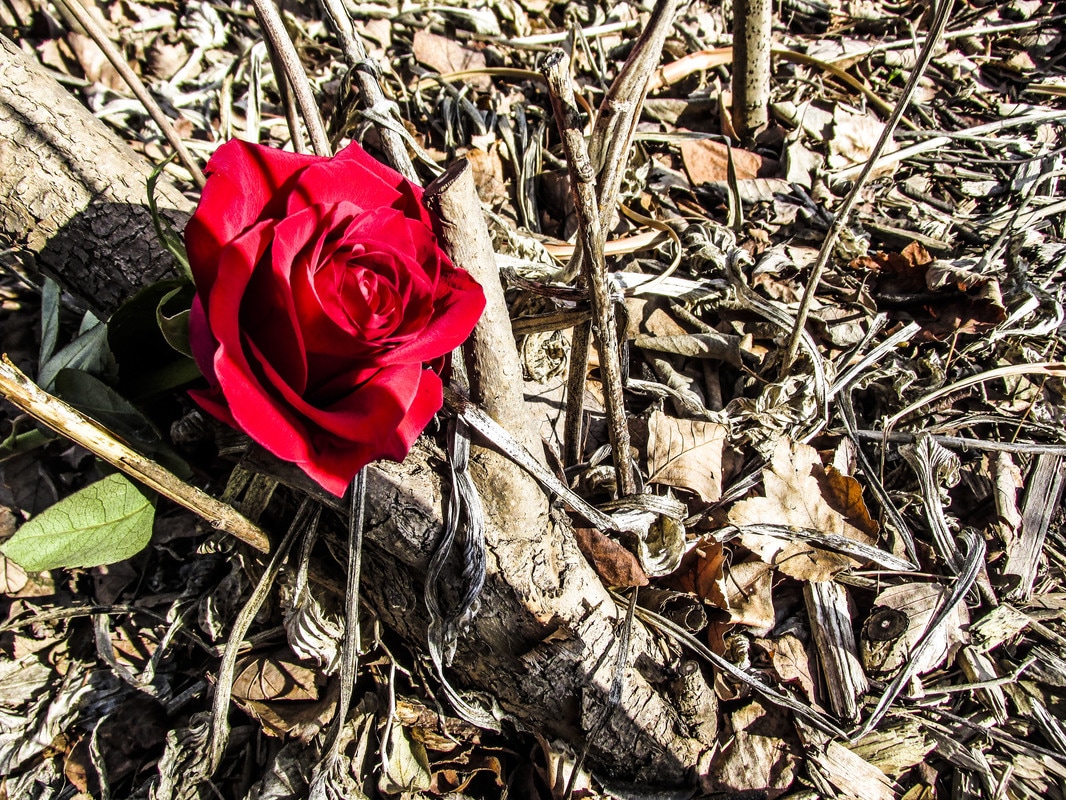
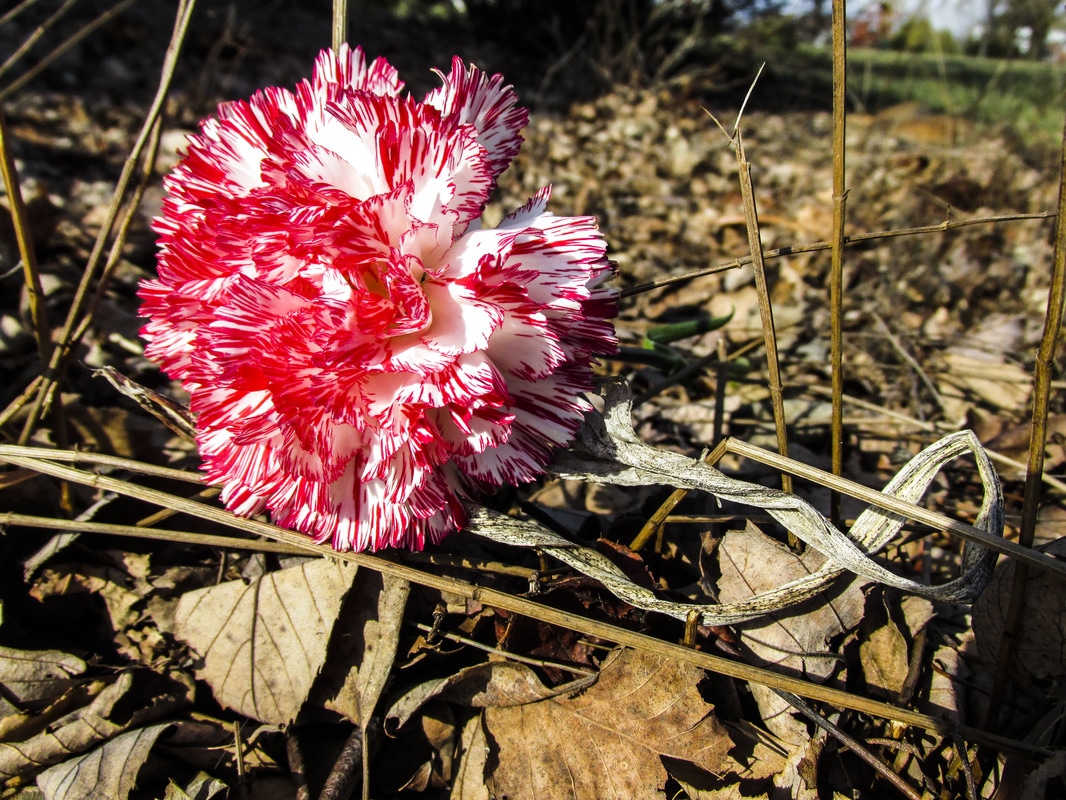
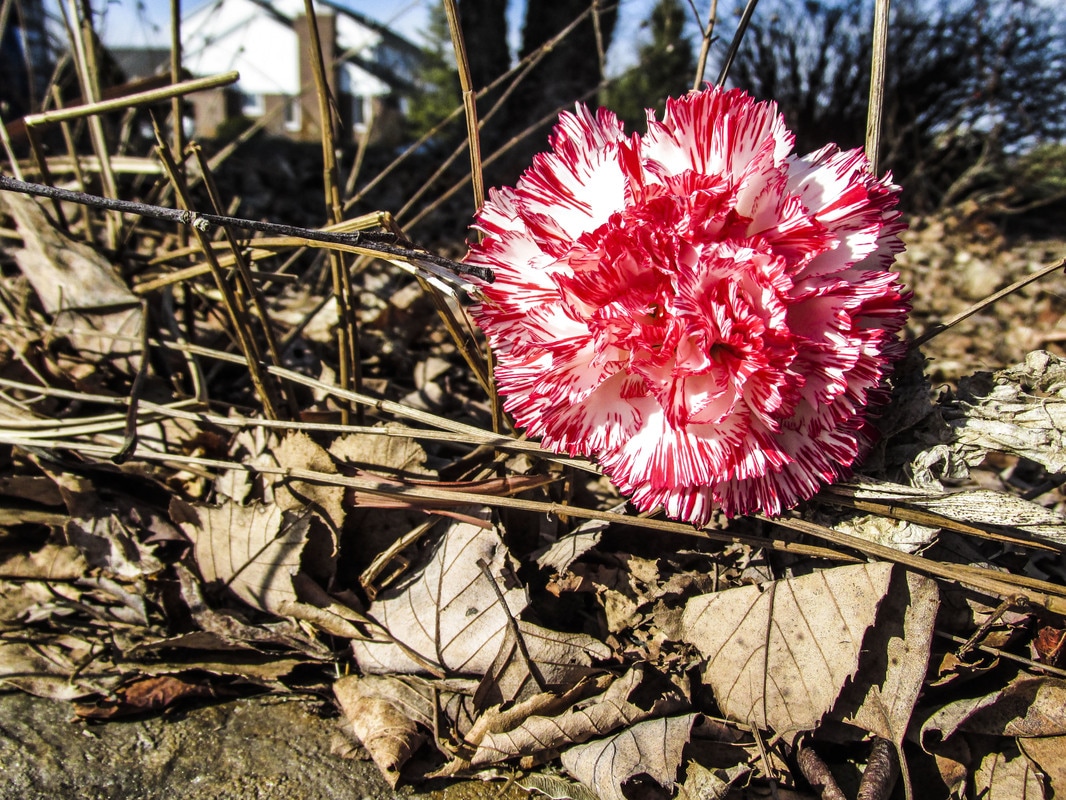
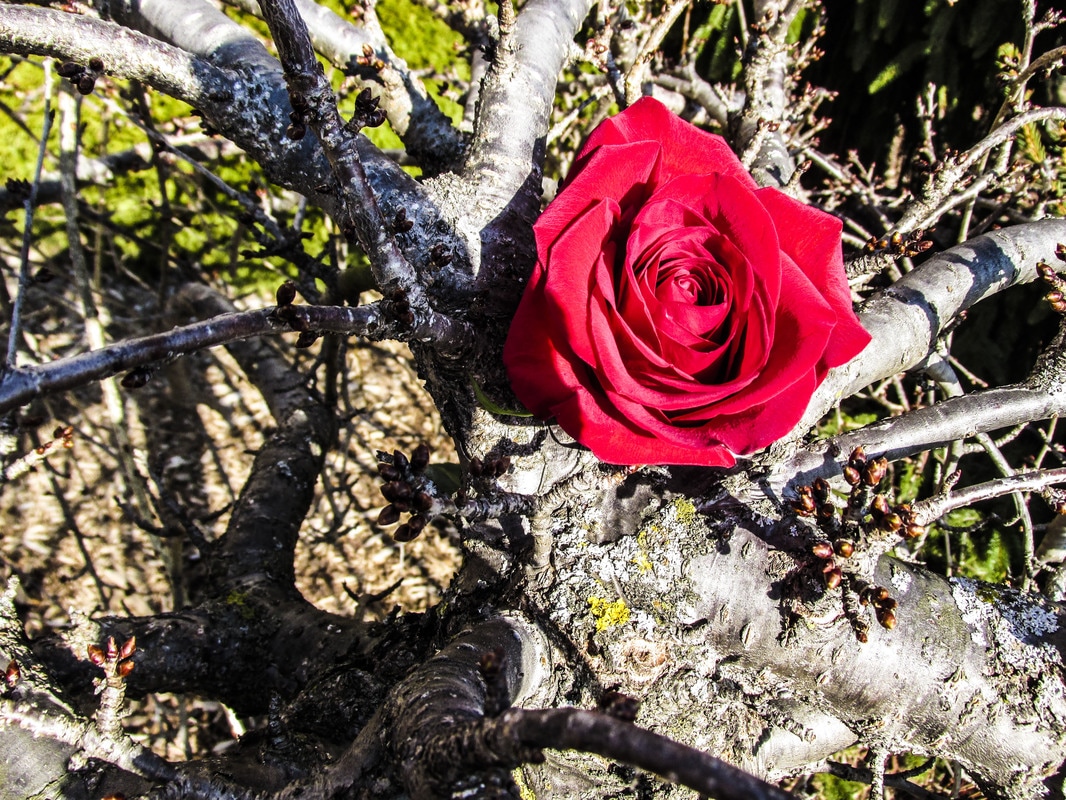
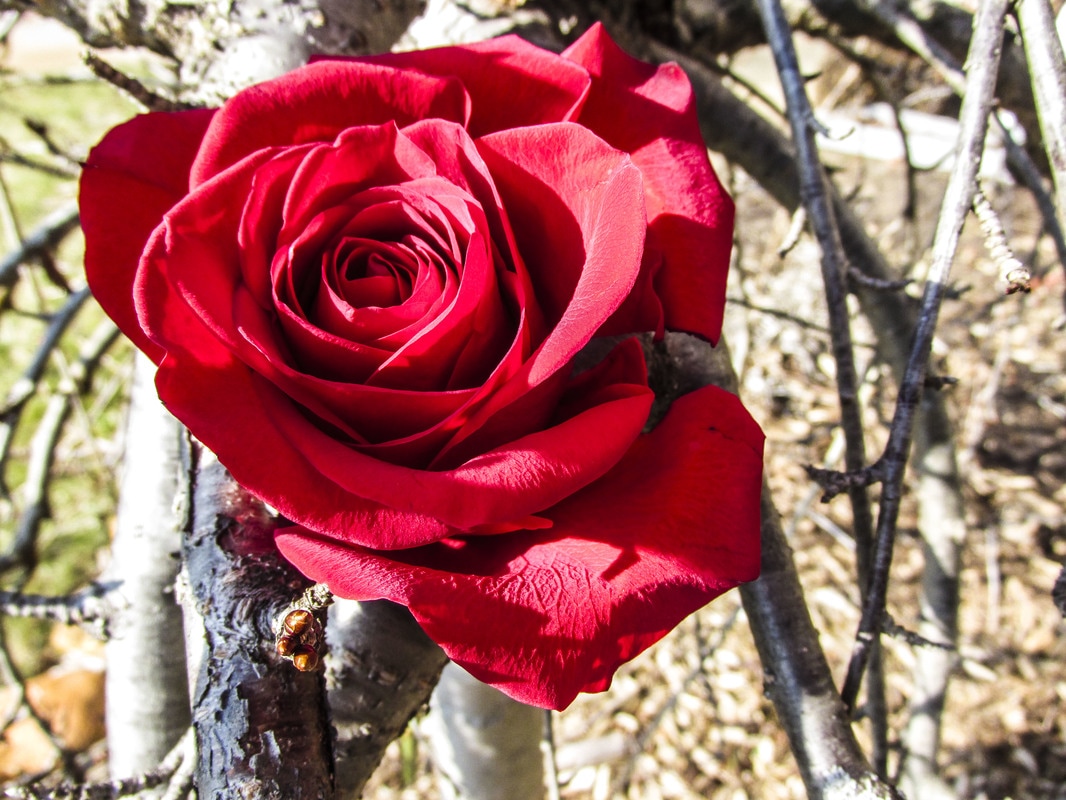
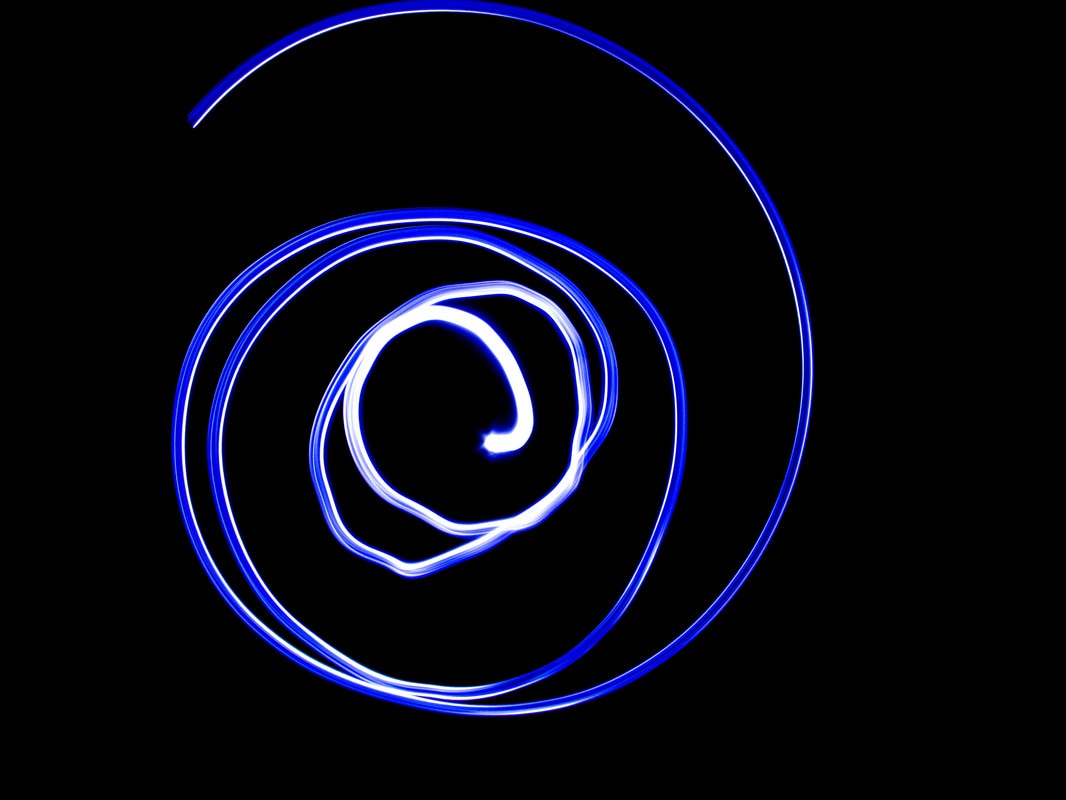
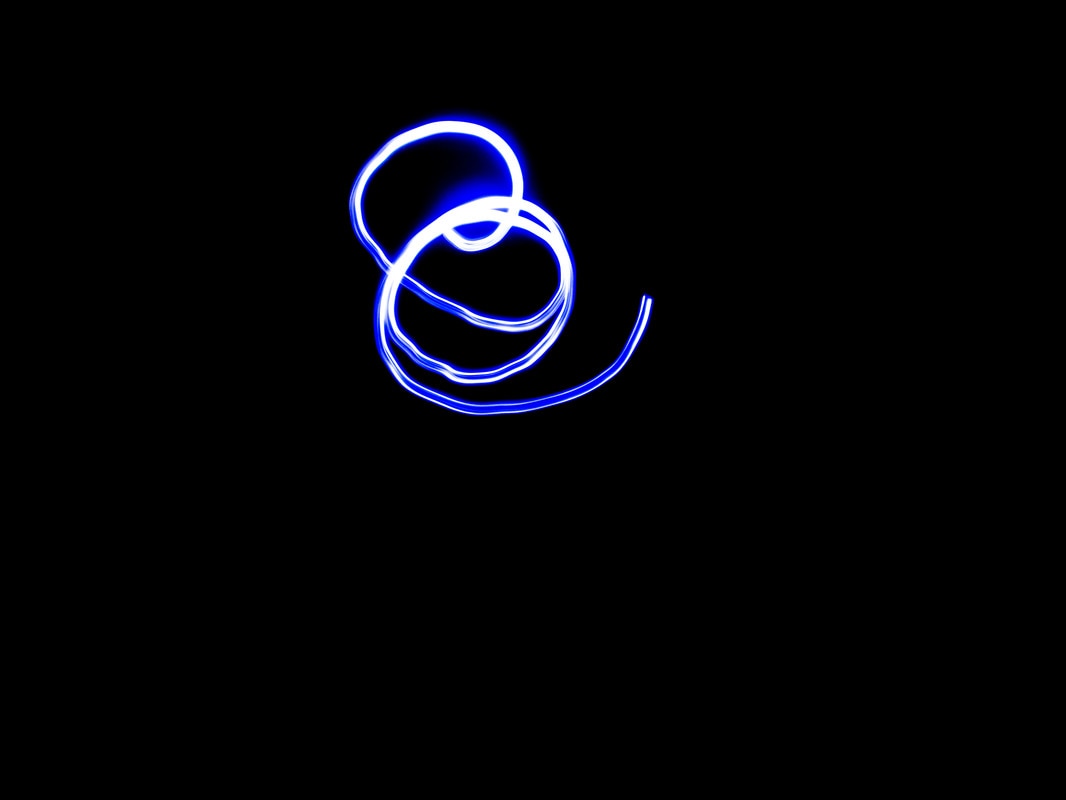
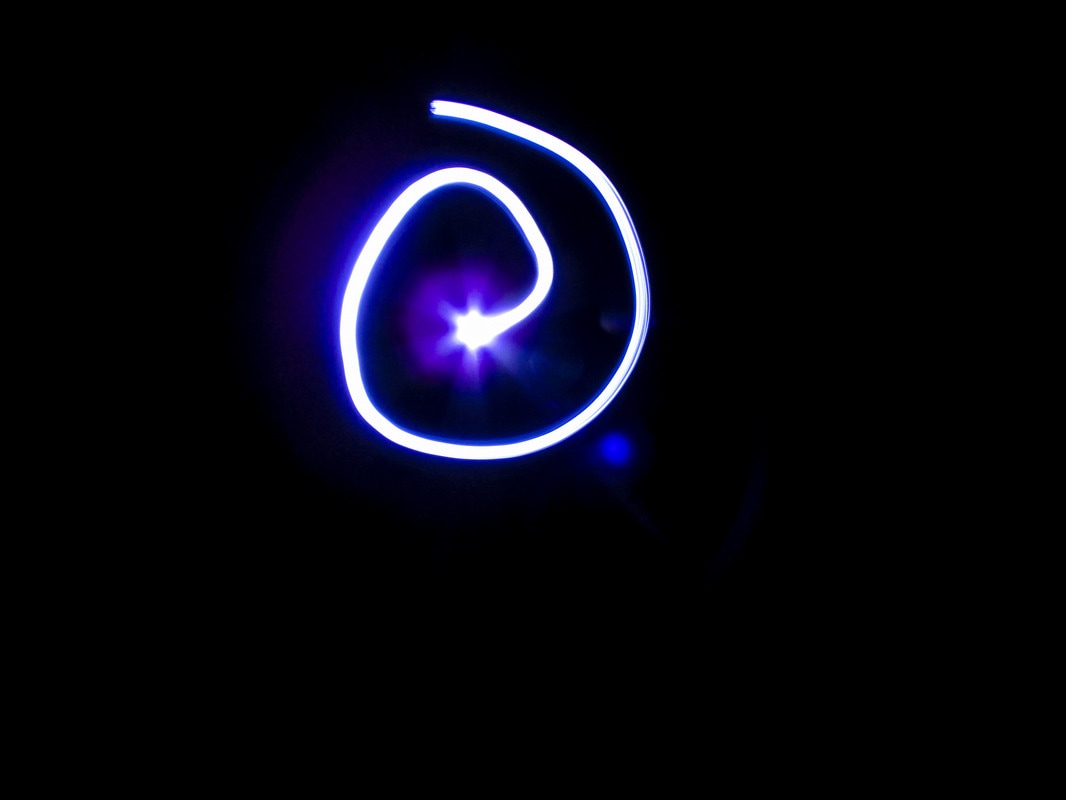
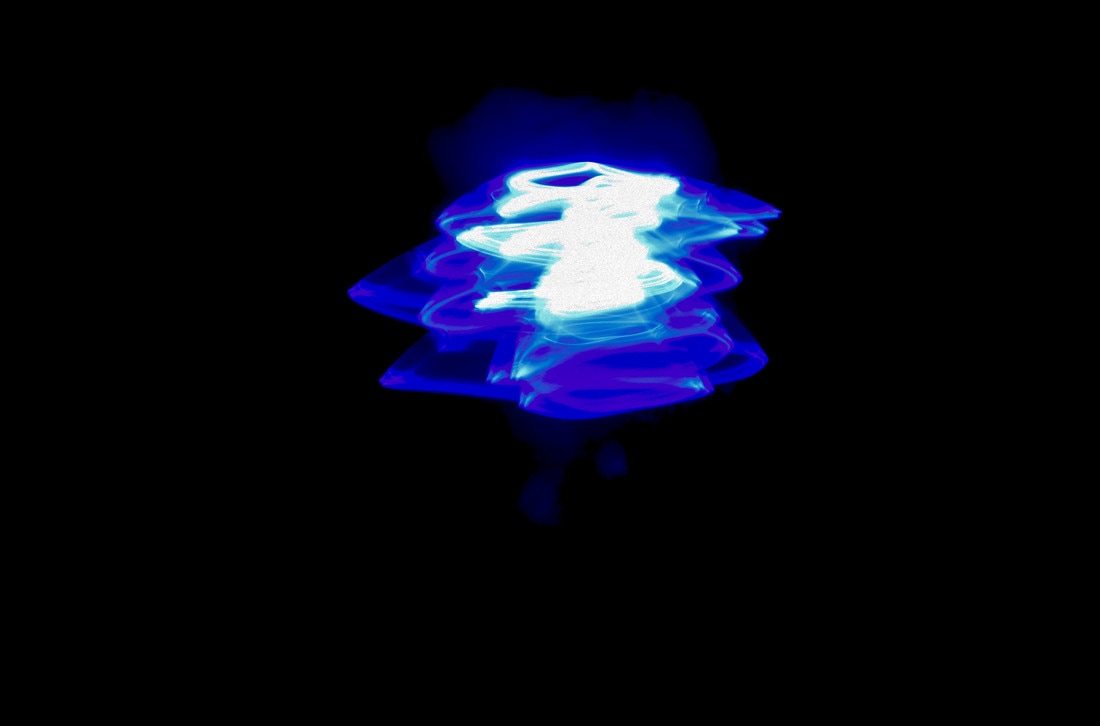
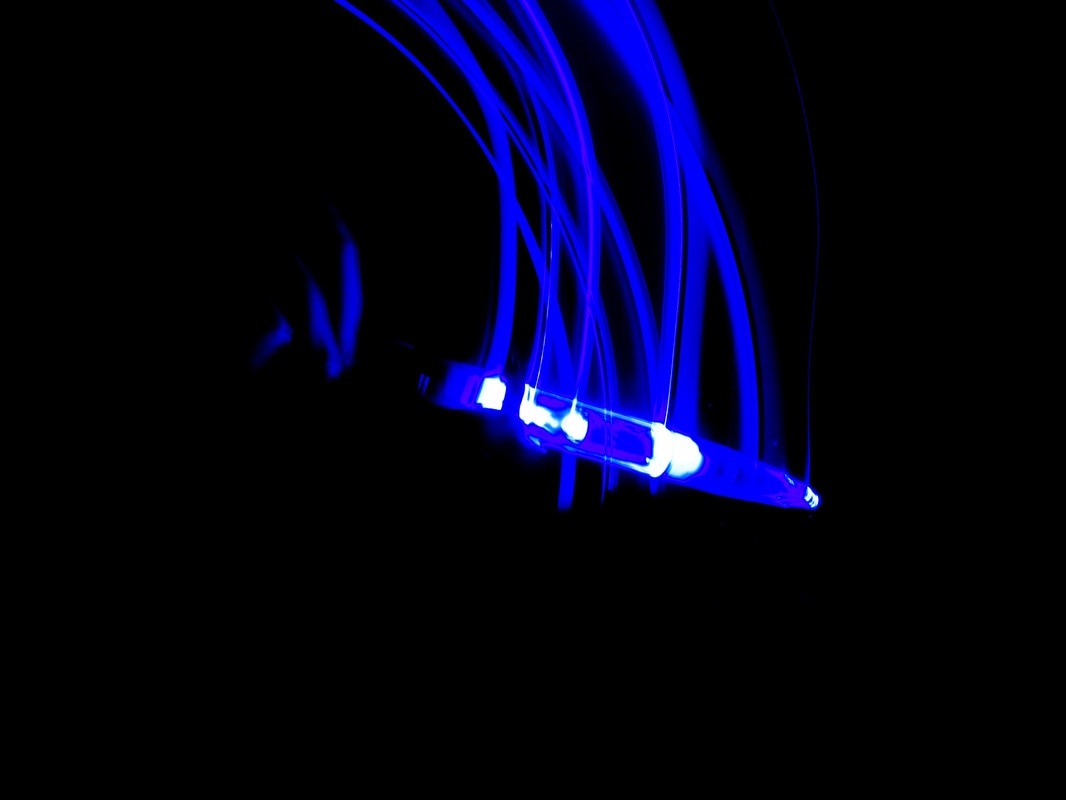
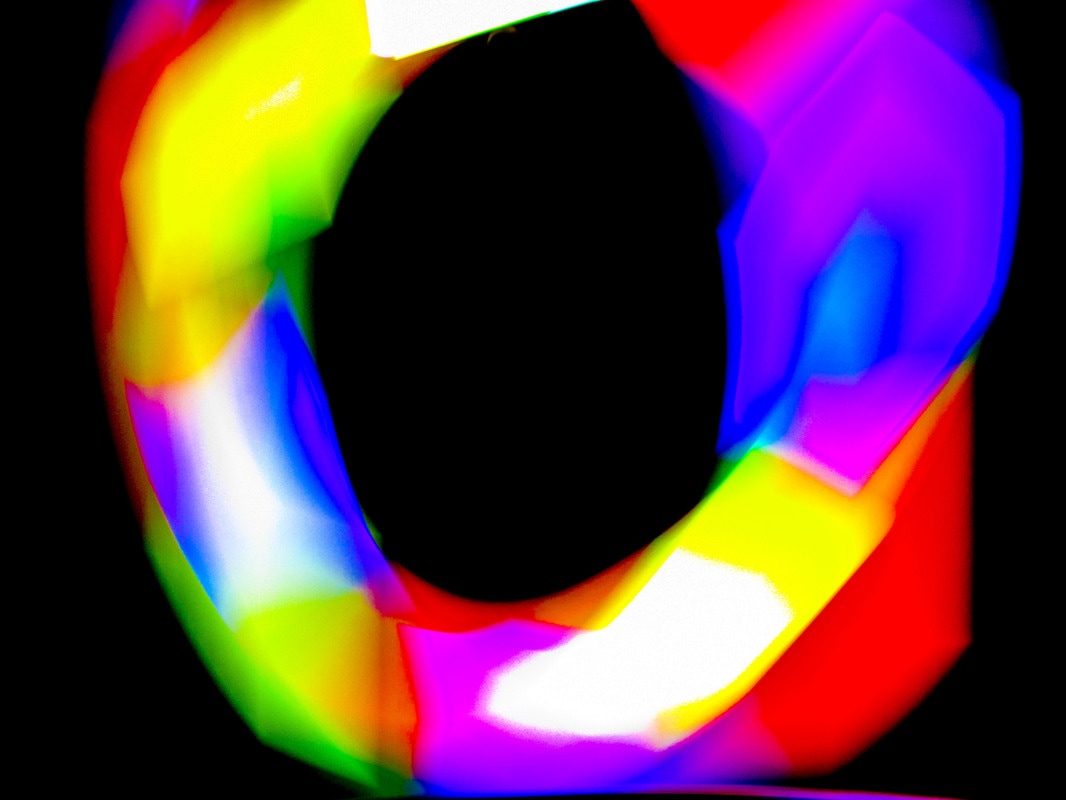
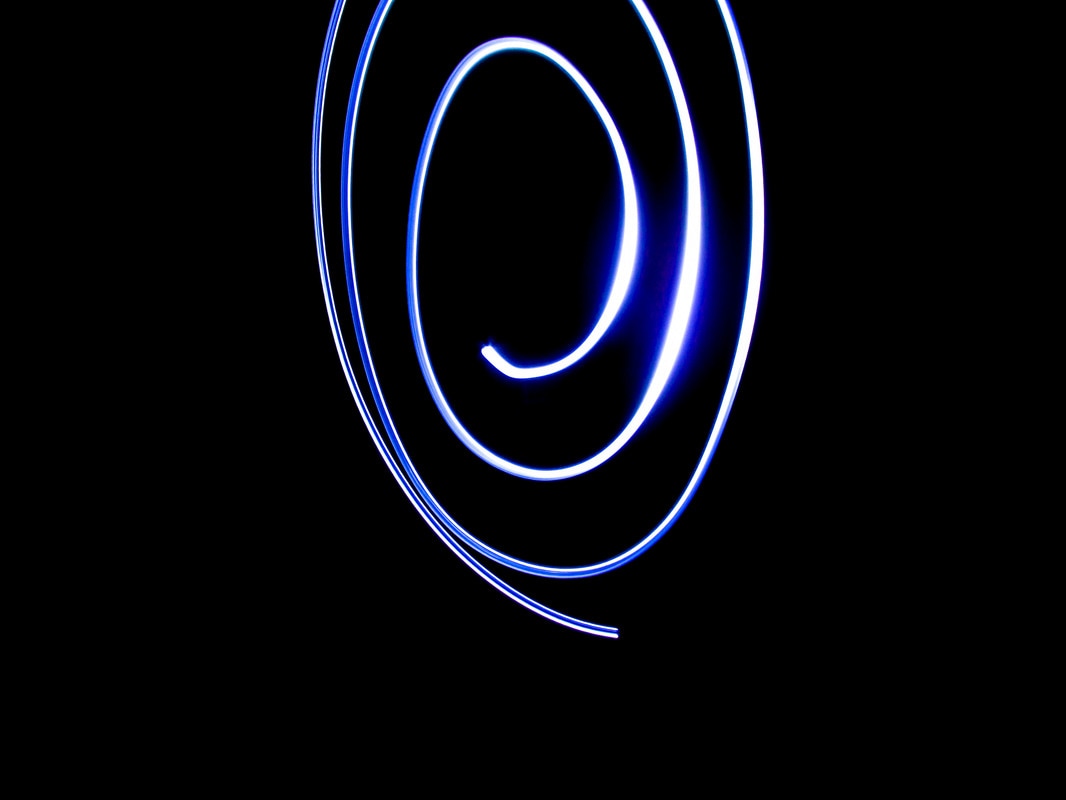
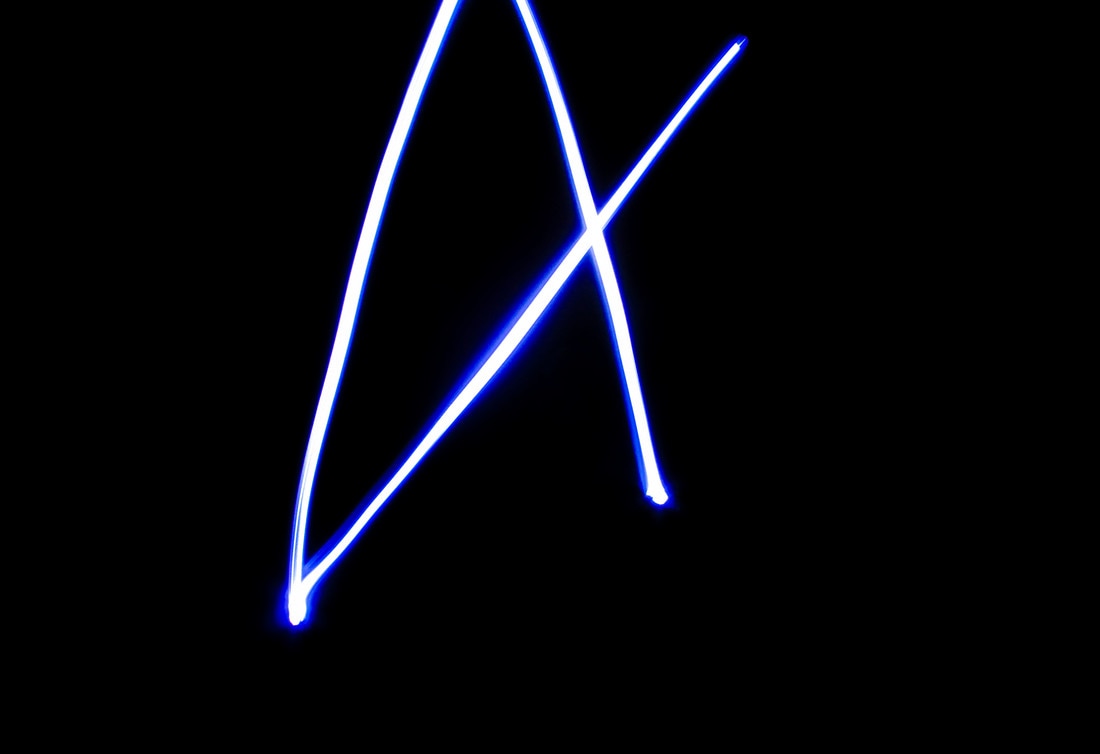
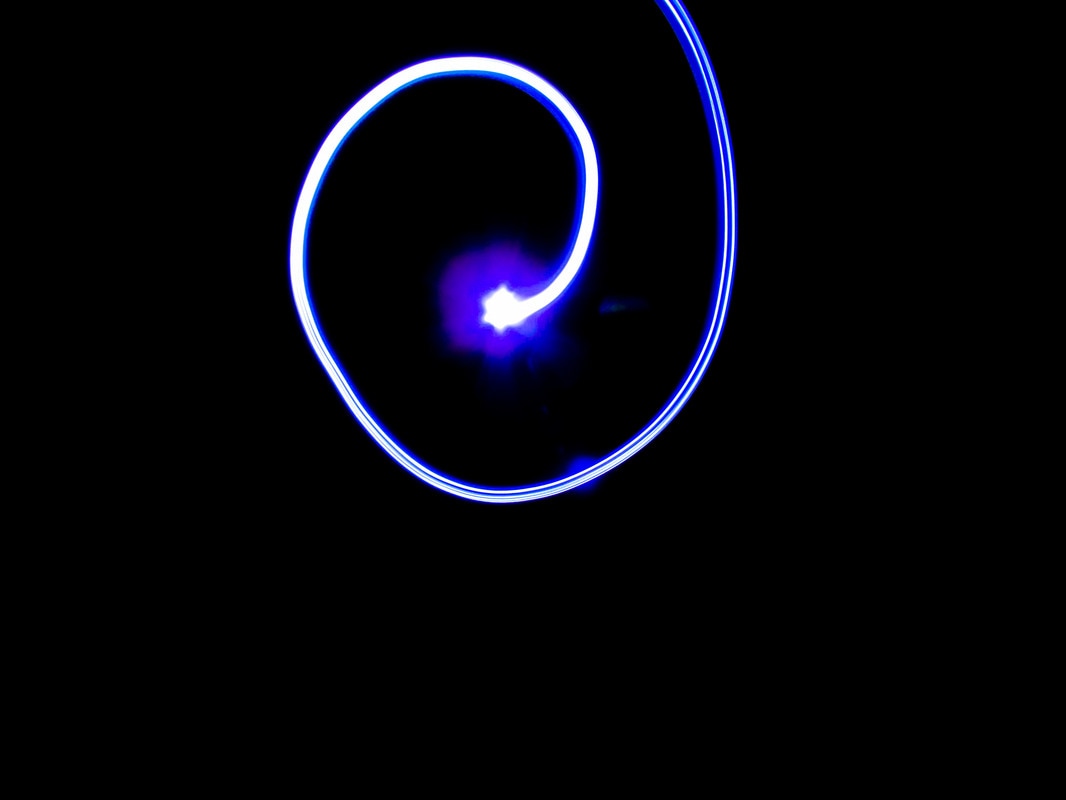
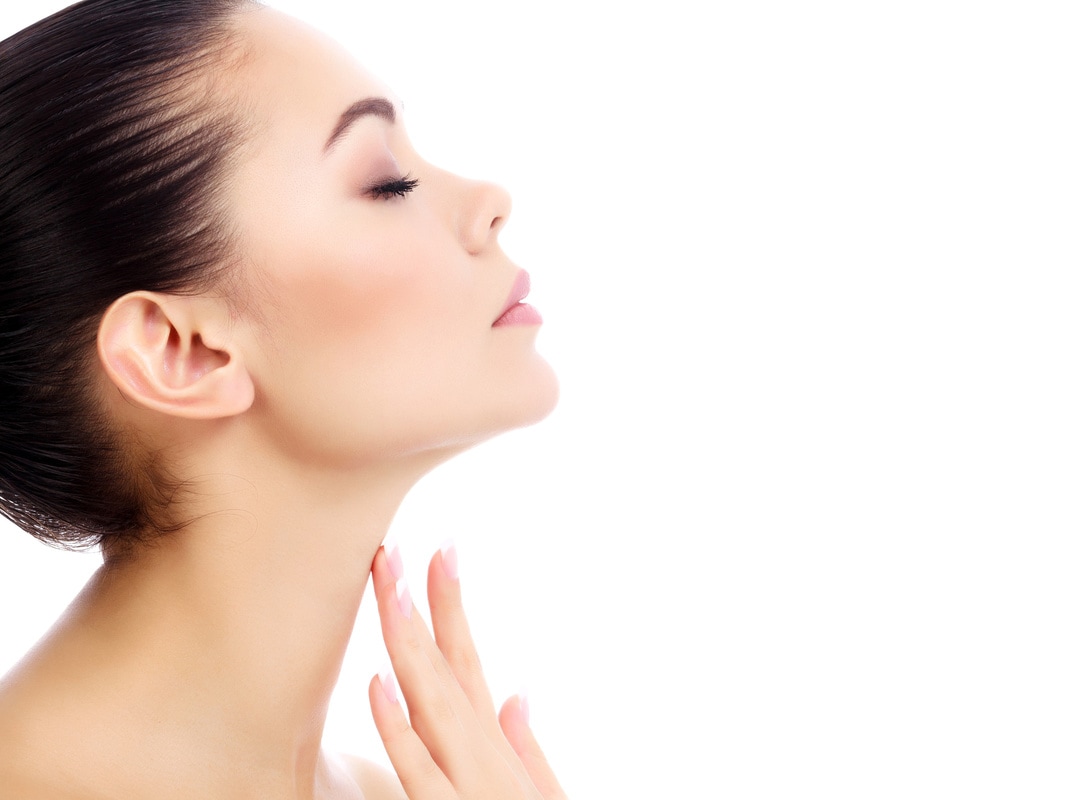
Today we learned how to take a picture with motion blur. I learned more about the pre focus and how challenging point and shoot cameras are to use in the sunlight because the aperture opening can only go so small. The class learned about using a slower shutter speed to achieve the desired motion. 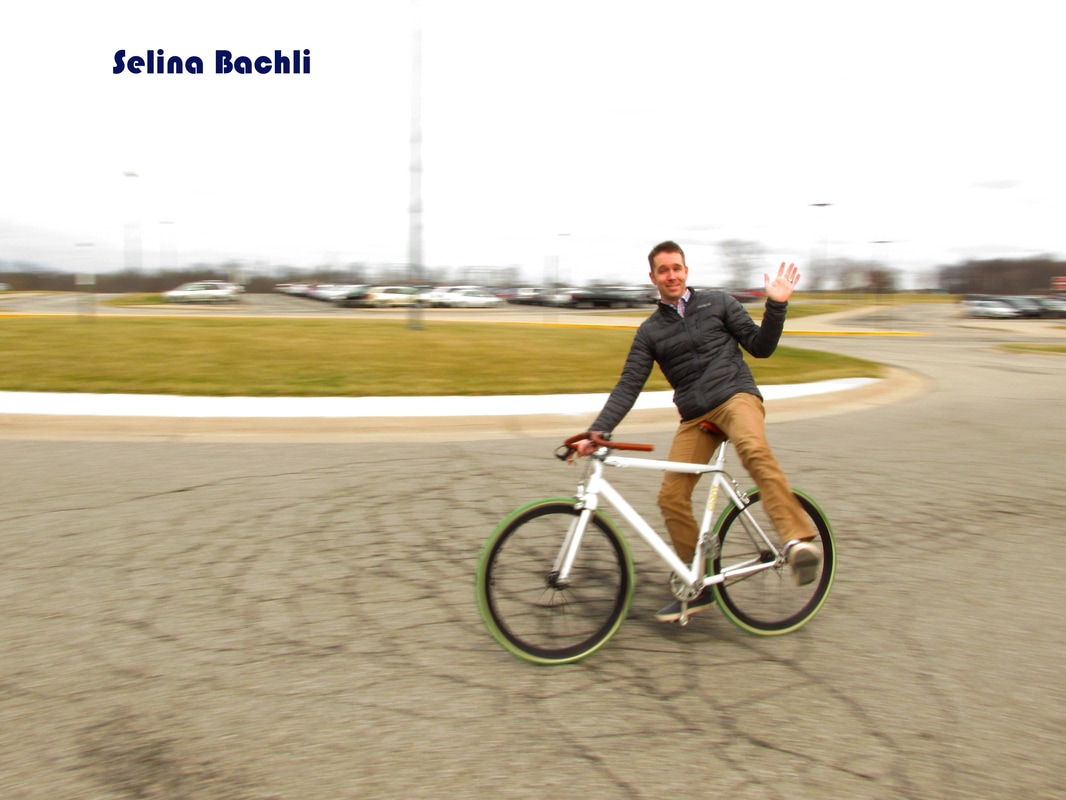 In this photoshop assignment we had to utilize not only our photoshop abilities but also our photography abilities. We had to shoot between 3 and 5 images of someone or have someone shoot us, this is excluding the base/ background/ empty picture we had to take. We shot the pictures in full manual mode: focus, ISO, shutter speed, aperture, and white balance. In photoshop, we took the pictures and layered them so that it would appear that there were multiple versions of us in one picture. We were properly introduced to layer masks and the challenge of revealing v. concealing parts of the image. The end result is a picture with realistic looking images of someone stacked together to make it look as if there are multiple them doing poses shot in one picture. On top of that, we learned how to apply level adjustments, filters, and color pop to the full image following them being stacked together.  For the final photo assignment I had nature as my subject. The only problem about nature being my subject is that it's February in Michigan. Everything is dead. Fortunately, I had a clever idea to make it work for me. In my house we had some flowers leftover from a bouquet from my senior night meet, and I thought that I would take the flowers outside to shoot with the dead nature. I wanted to incorporate the bright colors of the live flowers with the dead, dreary-looking plants outside. One of the challenges I faced in this assignment was the wind factor. It was kind of cold out, but the main problem was the flowers blowing in the wind. Also, because of the sun placement, it was difficult to not catch my shadow in the pictures, but to also not to get a side picture of the flowers, 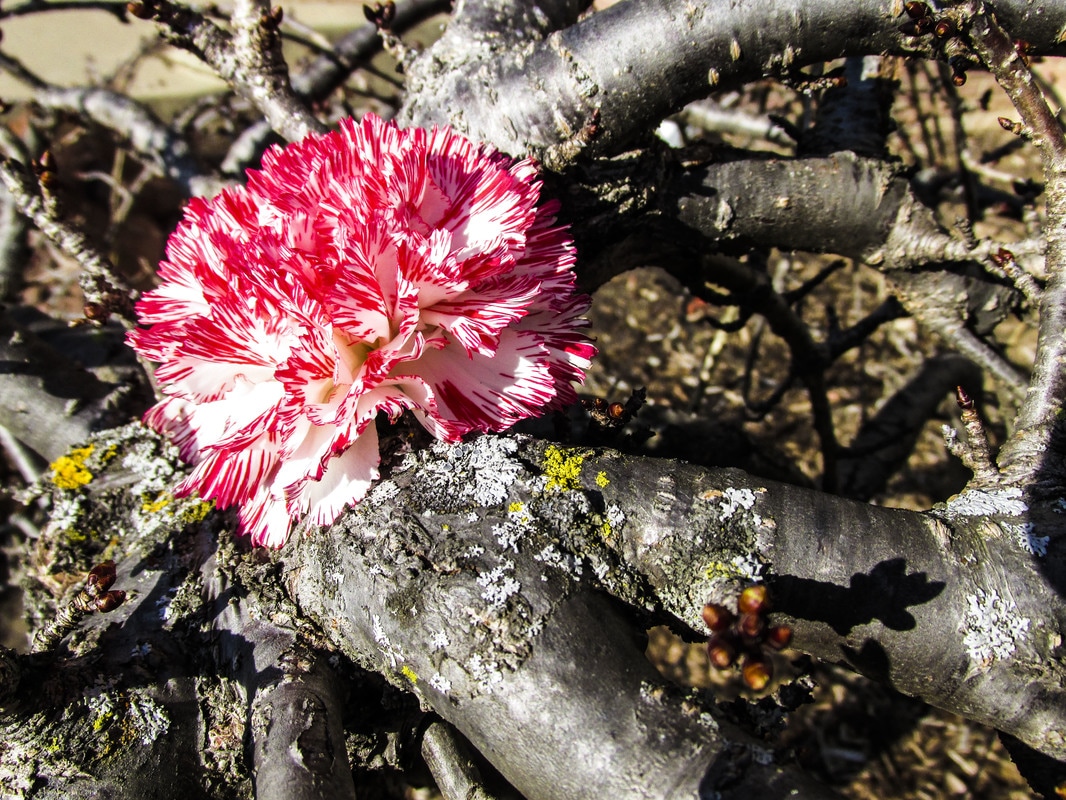 Exposure triangle: ISO 100, f3.5, 1/1250 sec. Editing: contrast, clarity, and vibrance. For this photoshop assignment we worked in small groups to explore different methods of taking portrait pictures. One of the methods we used was a studio, set-up method which uses three lights: a dominant light illuminating the face, a duller light illuminating the shadows on the other side of the face, and a "hair light" which creates depth between the subject and the background. The other method we used was to use a large piece of paper to serve as a light reflector. We used natural window light to highlight one side of the face, while using the reflector to lightly highlight the other side of the face. In photoshop we worked with creating frames for the pictures. The two goals were to create two portraits using different techniques and use our expanding knowledge of photoshop to frame the portraits in one picture.  In this photo assignment I decided to try and tackle light painting, and I tackled it with mild success. These aren't the strongest pictures I've taken through the year in terms of creativity, but I successfully worked in manual mode and manual focus. Light painting is quite frustrating in terms of correctly having the focus on the subject. I did this project in a bathroom in my house using the small flashlight on my car keys. One of the problems I had is that the light cast a really wide, funneled light, so I had to use sharpie on tape to cover the sides of the light. I had the same issue with a light up pen I had. It cast light in every direction which illuminated my hand and all the objects behind me, which I fortunately covered up in the editing process. In my best picture I wish I had captured the star in full, but the top edge got cut off. However, it shows how I figured out the timing of light painting. 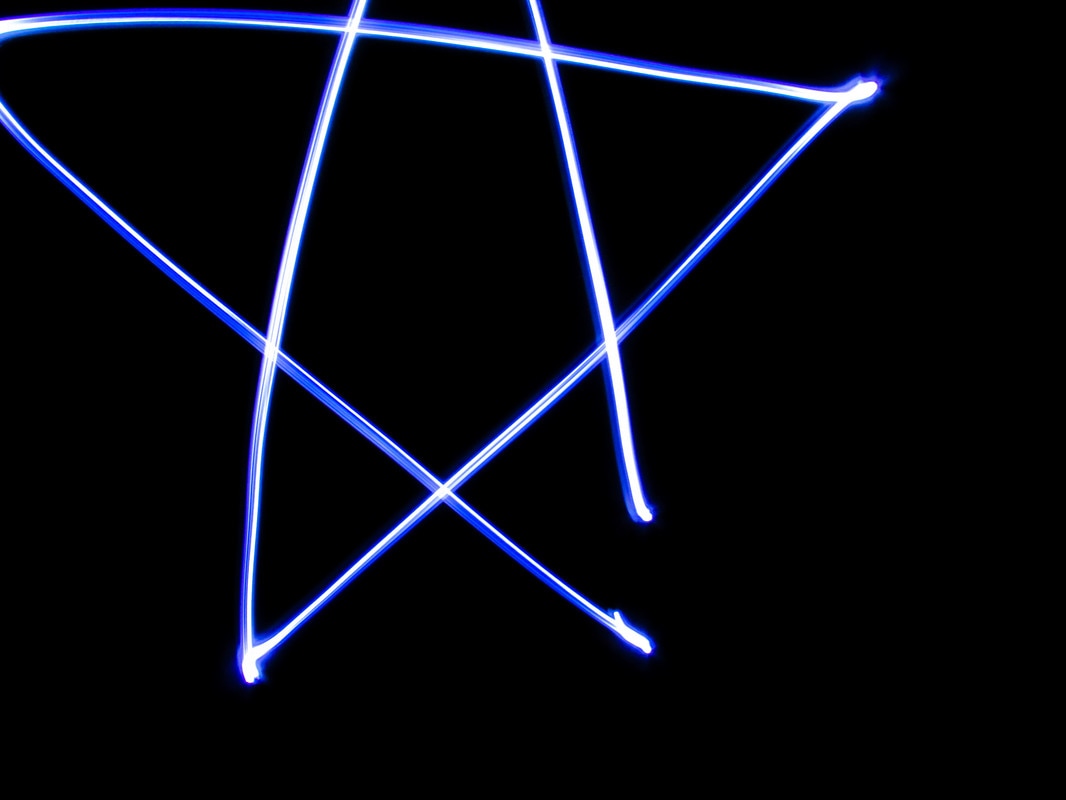 Best photo. Exposure triangle: f5.6, ISO 100, 5 sec. Editing: Contrast, blacks, clarity, vibrance, and saturation. For this photoshop assignment we were instructed to find photoshop tutorials online and then try them out ourselves. For this assignment I tried two tutorials: a 3D effect tutorial and a double exposure tutorial. I found both tutorials to be fairly easy considering how new I am to photoshop. The 3D effect tutorial was much easier than the double exposure. A challenge that I came across was neither of the tutorials provided images. Searching for images that were supposed to look good together was difficult. 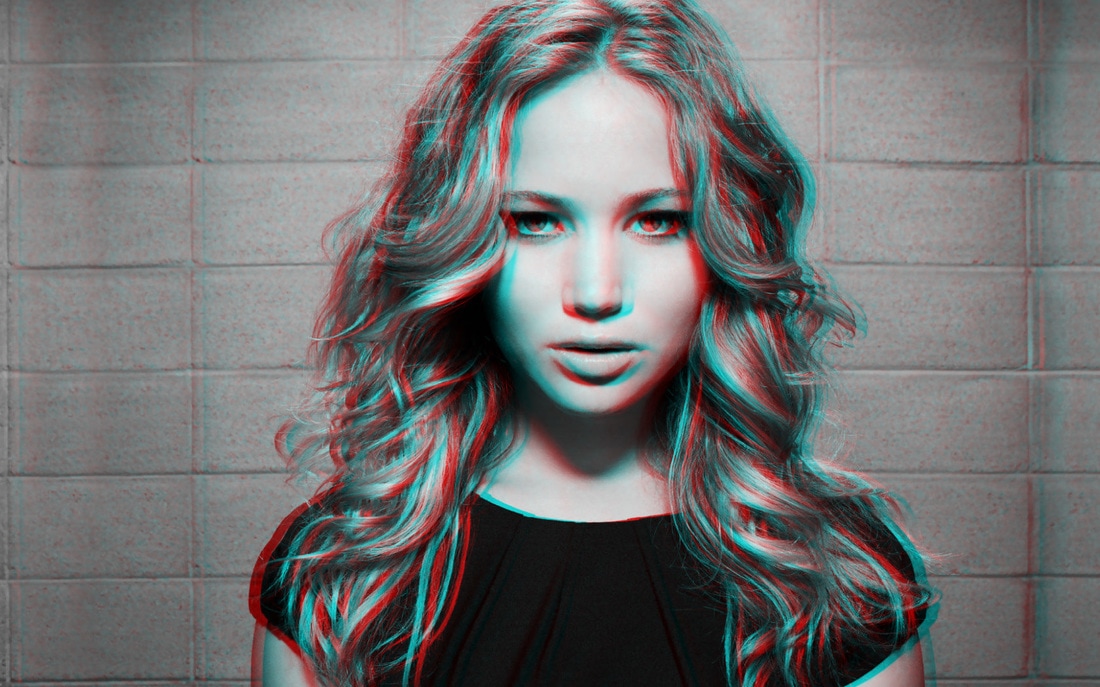 3D Effect final product 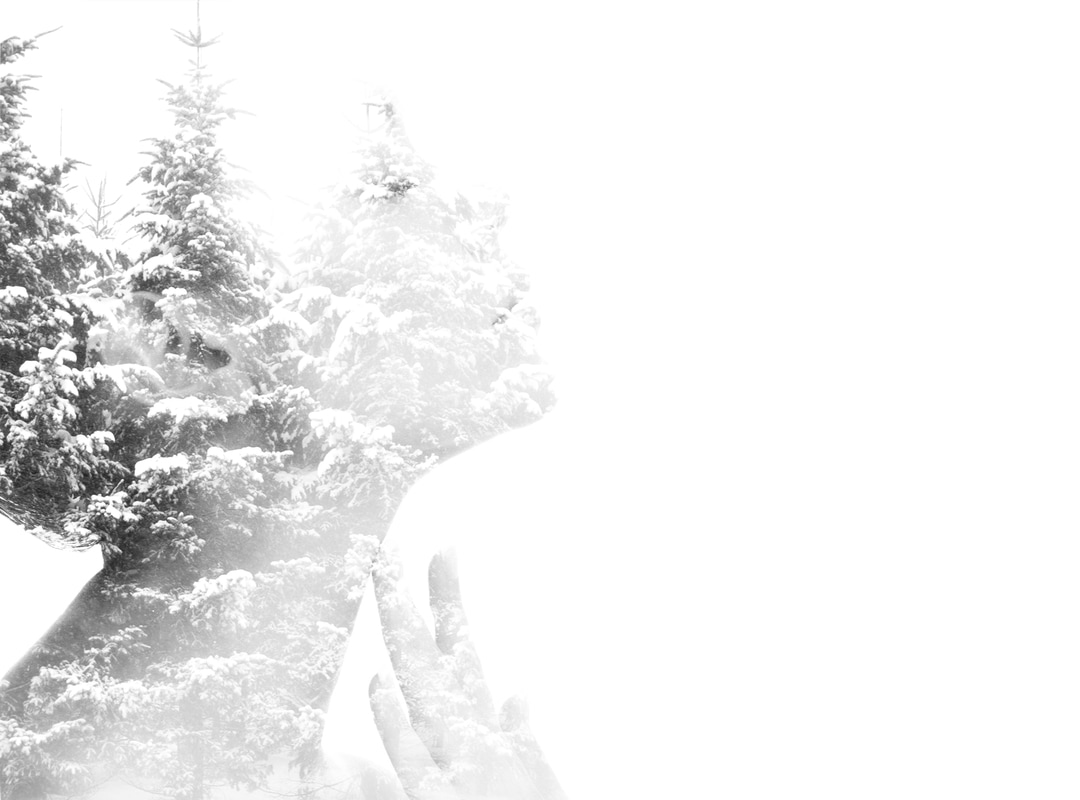 Double Exposure final product The images below are the ones I used for the double exposure tutorial. 3D effect tutorial: www.youtube.com/watch?v=3GsCU4wHdmg
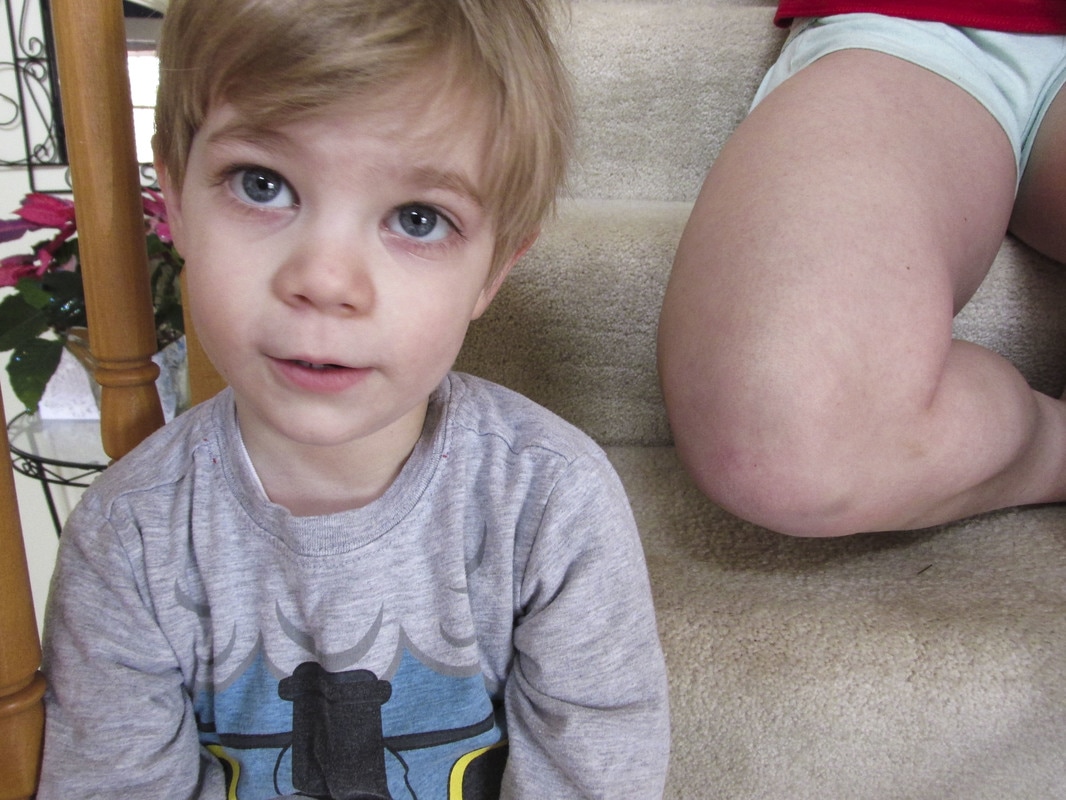
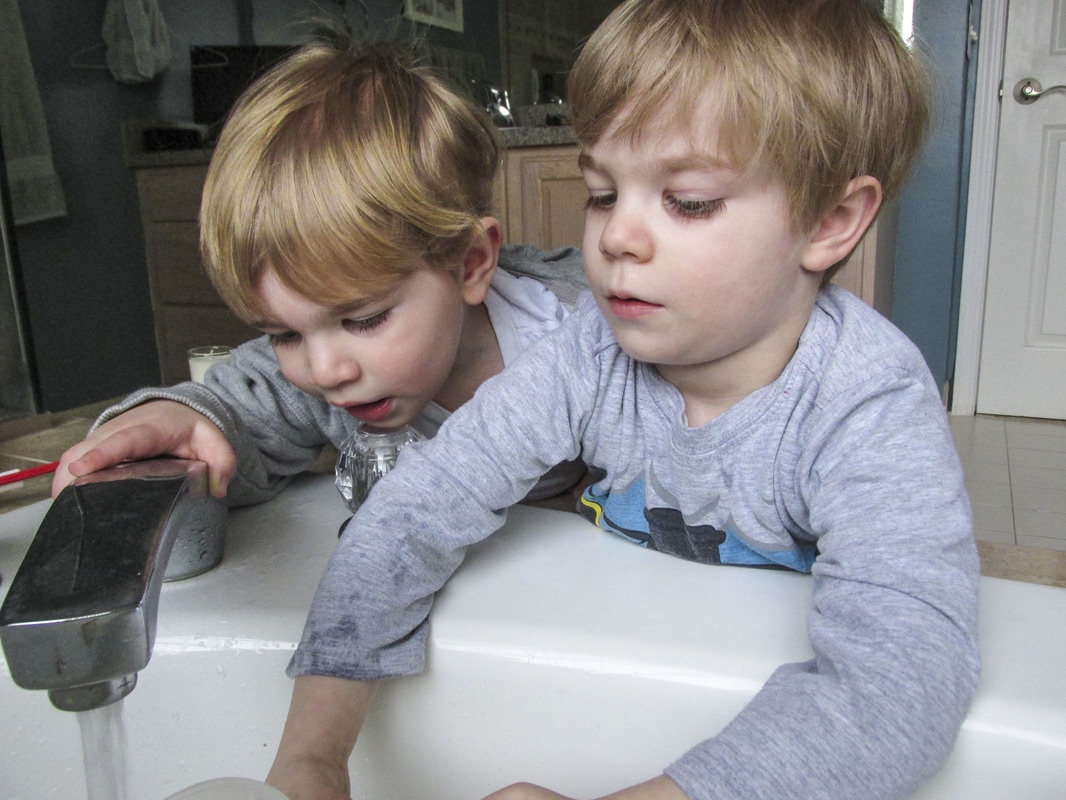
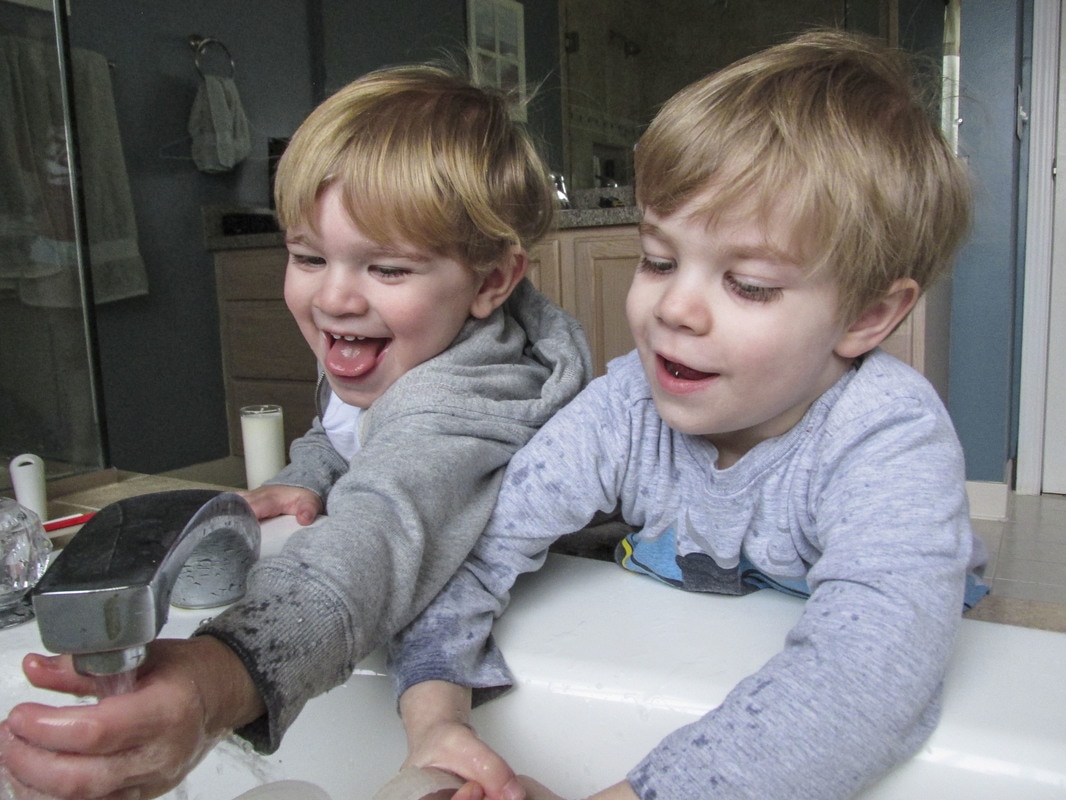
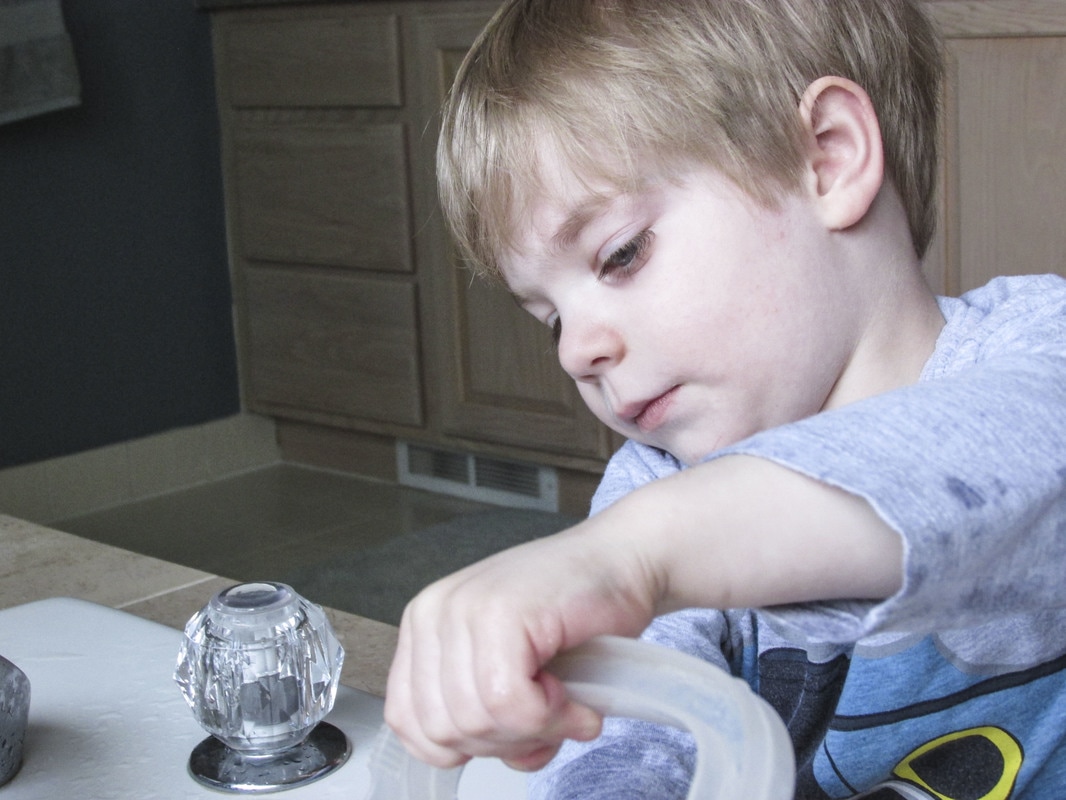
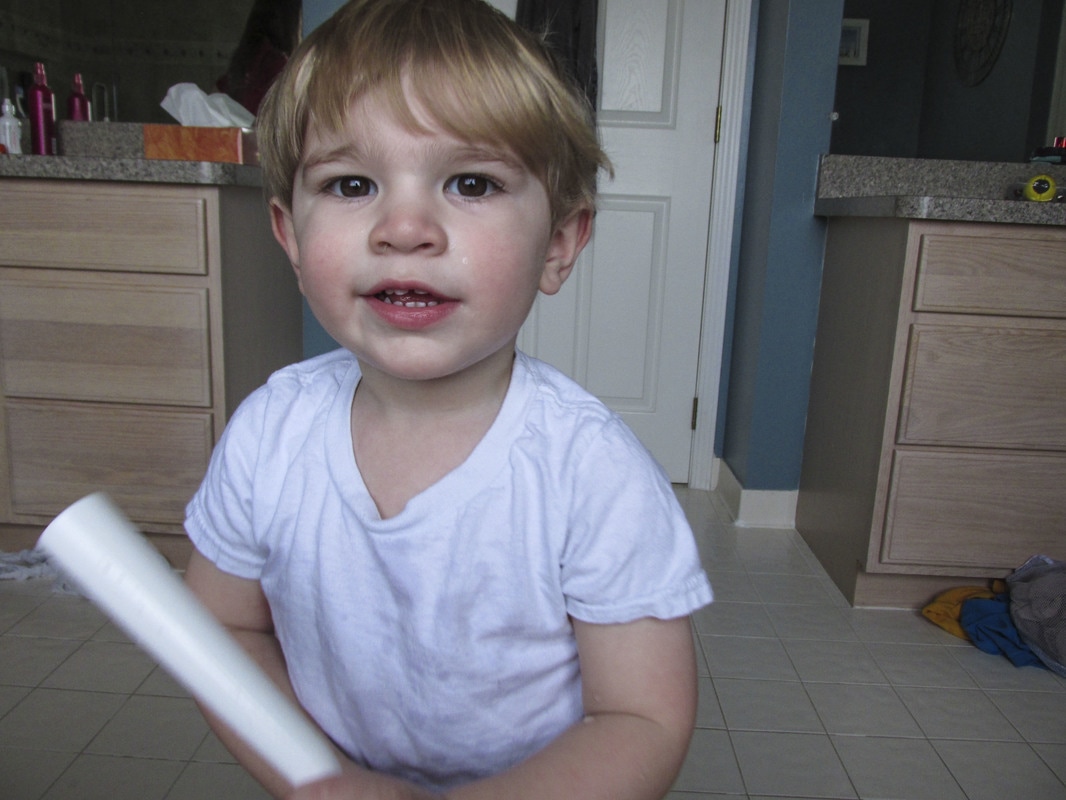
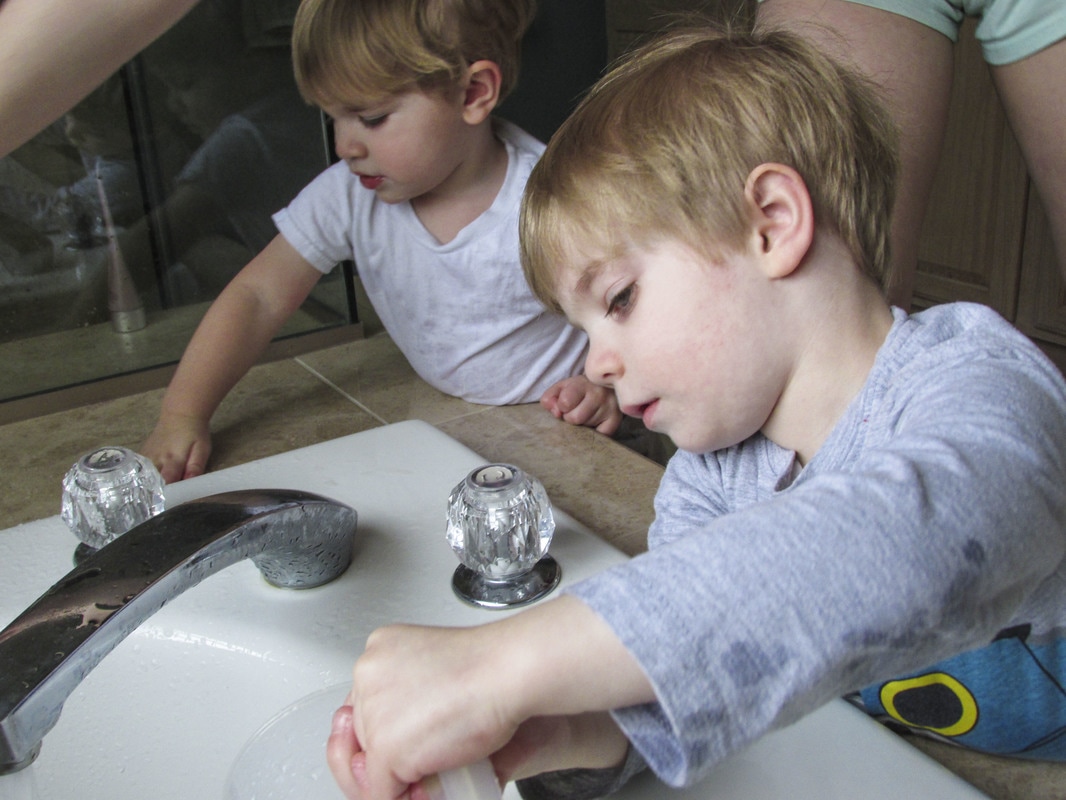
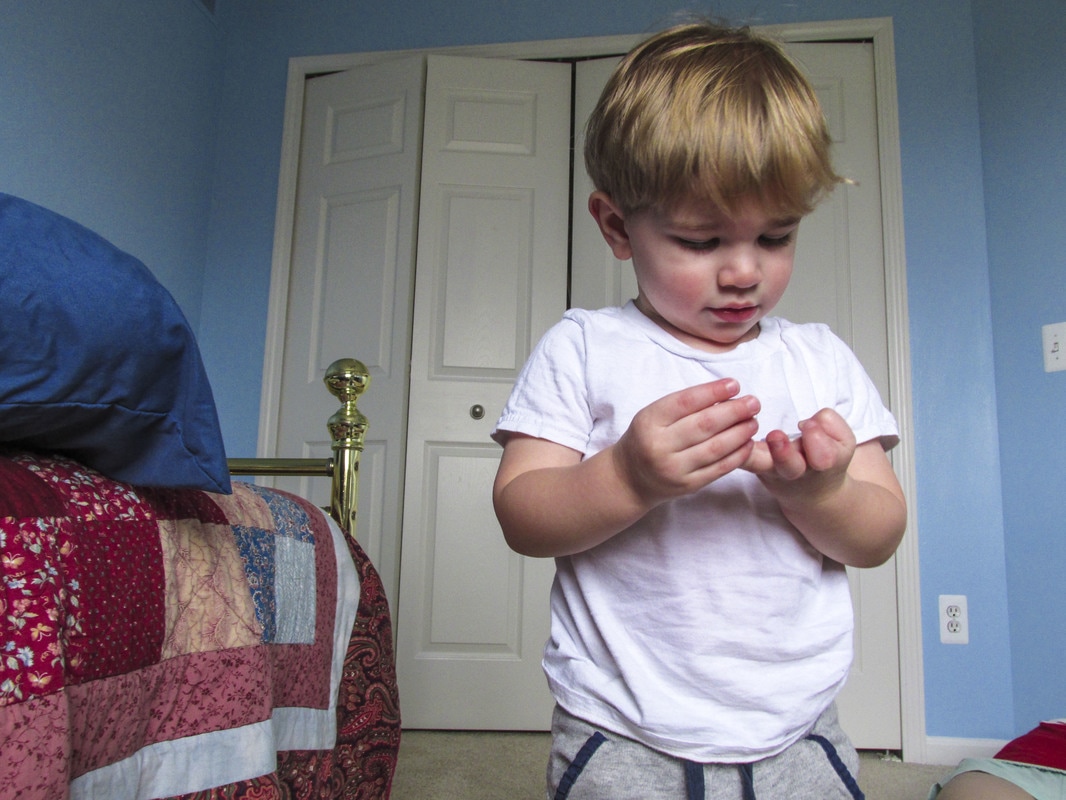
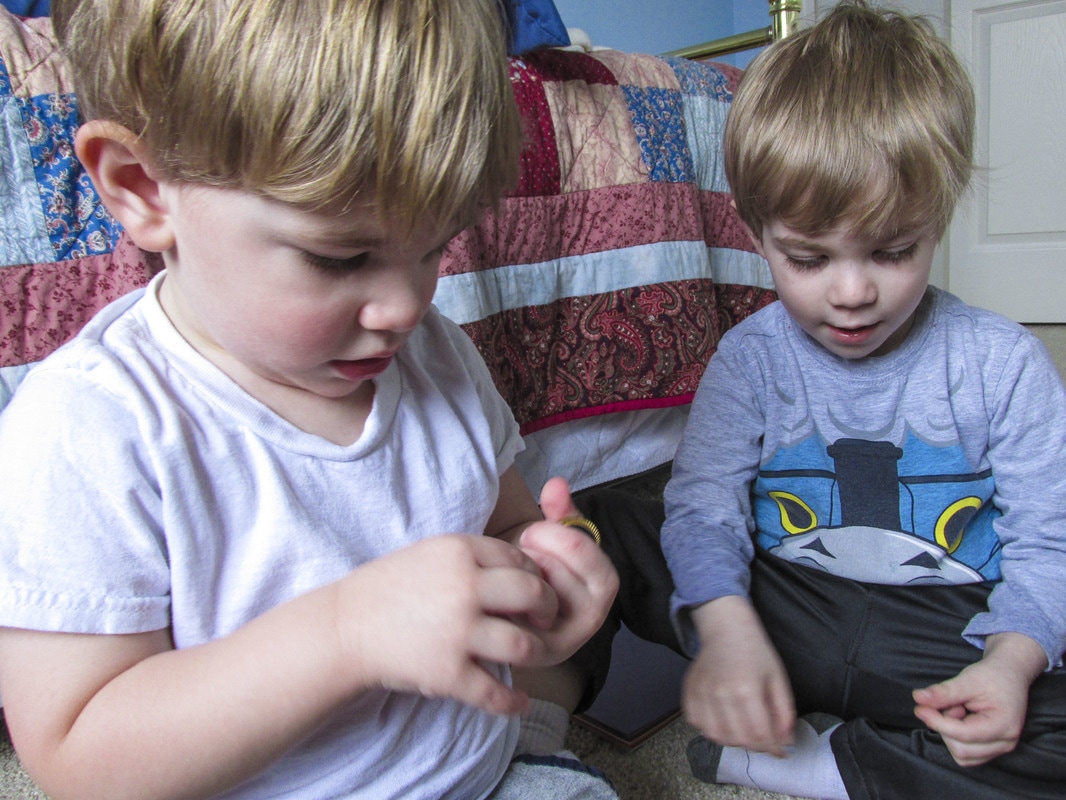
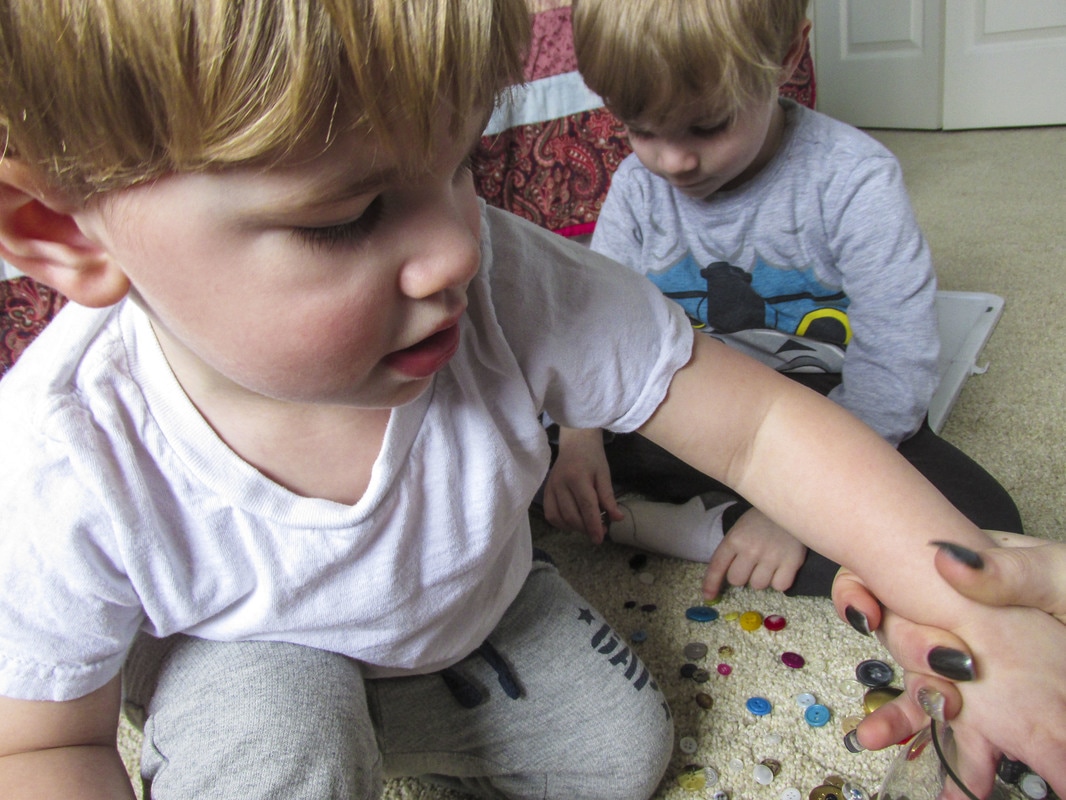
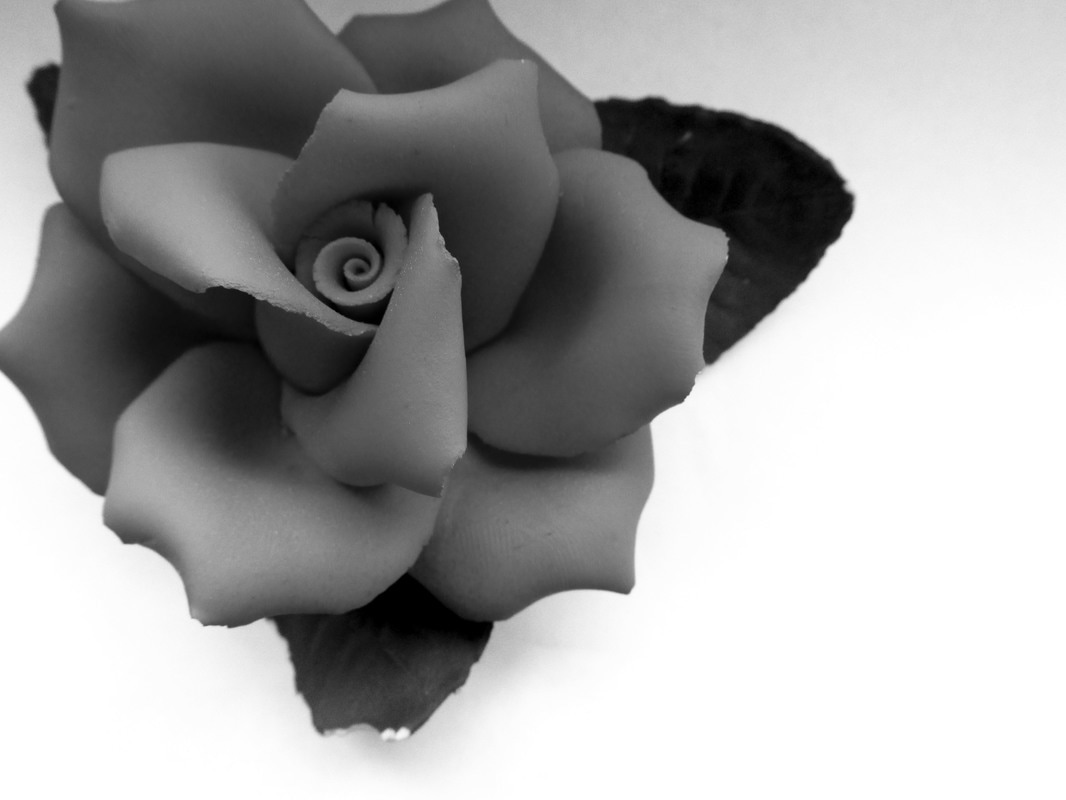
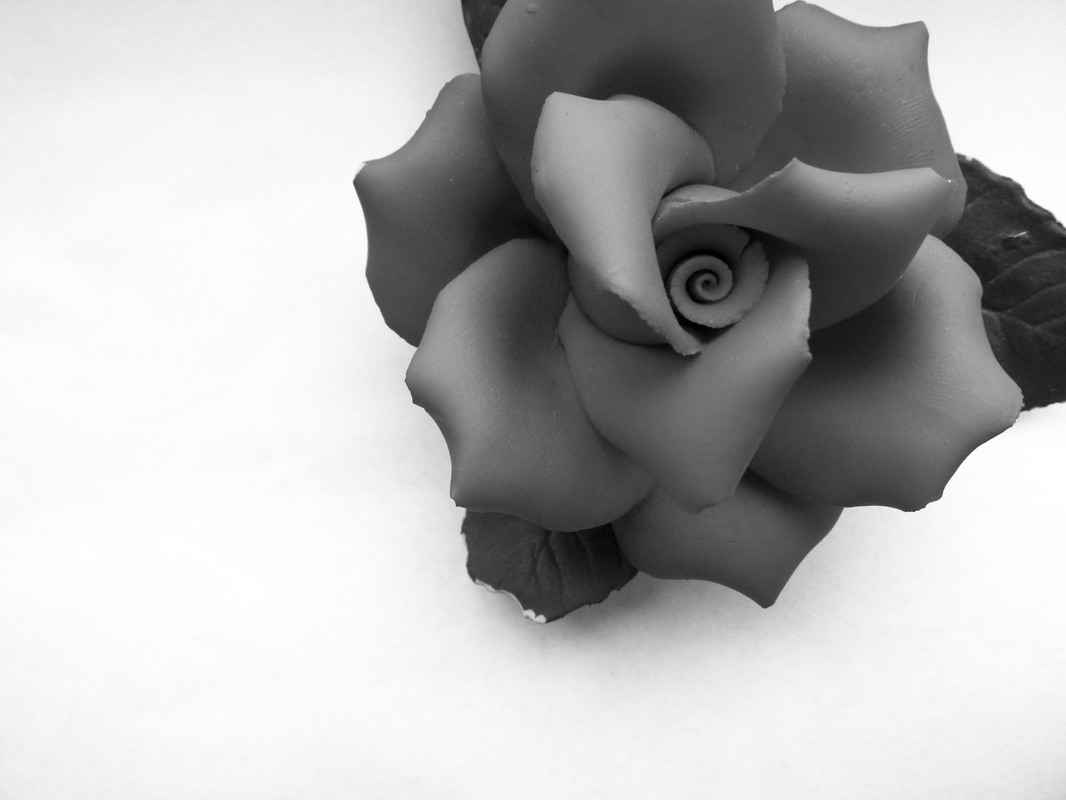
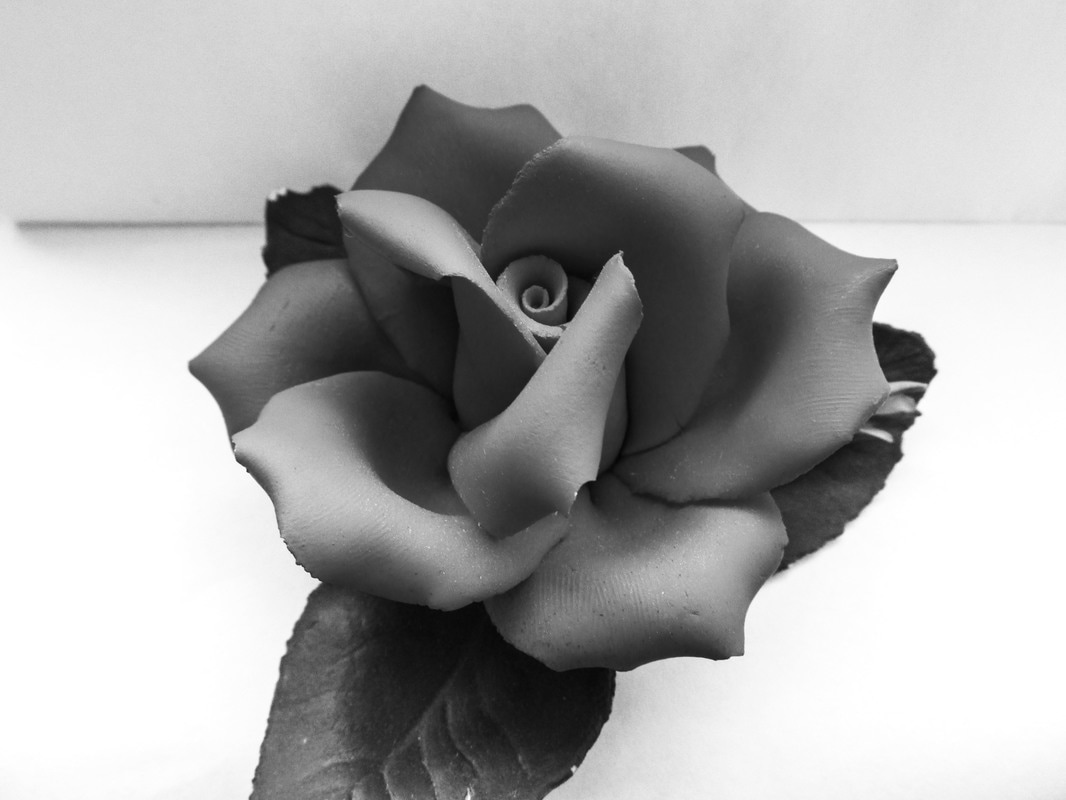
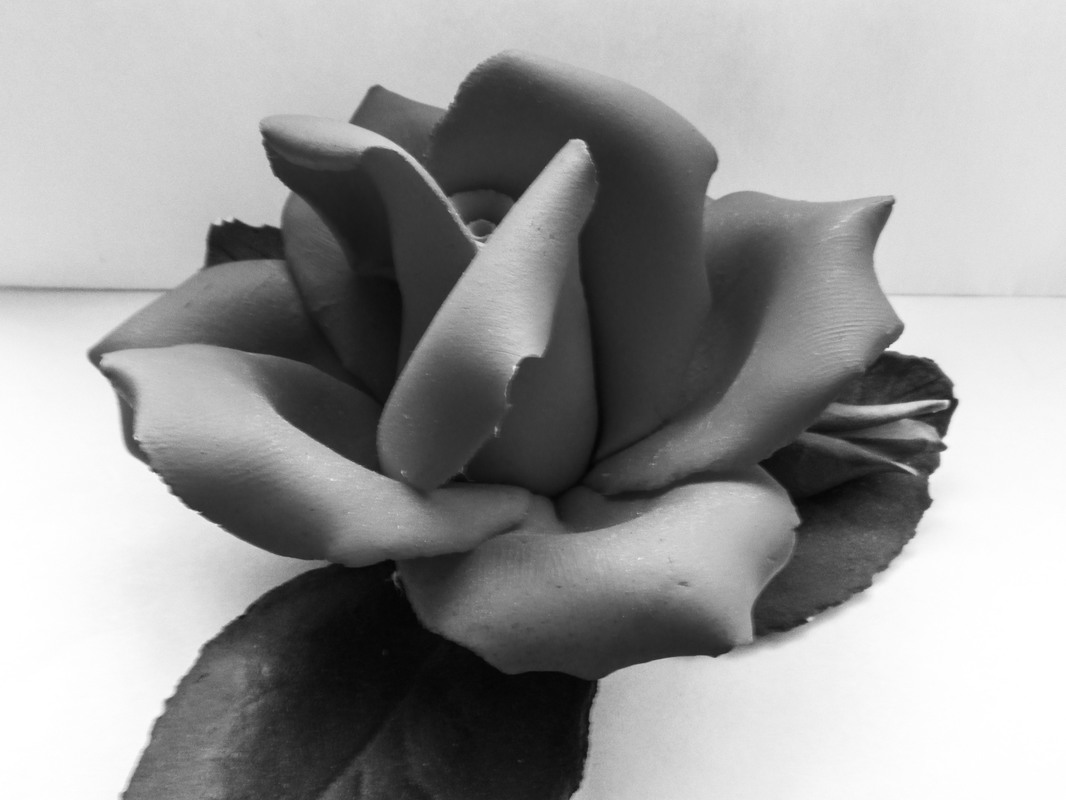
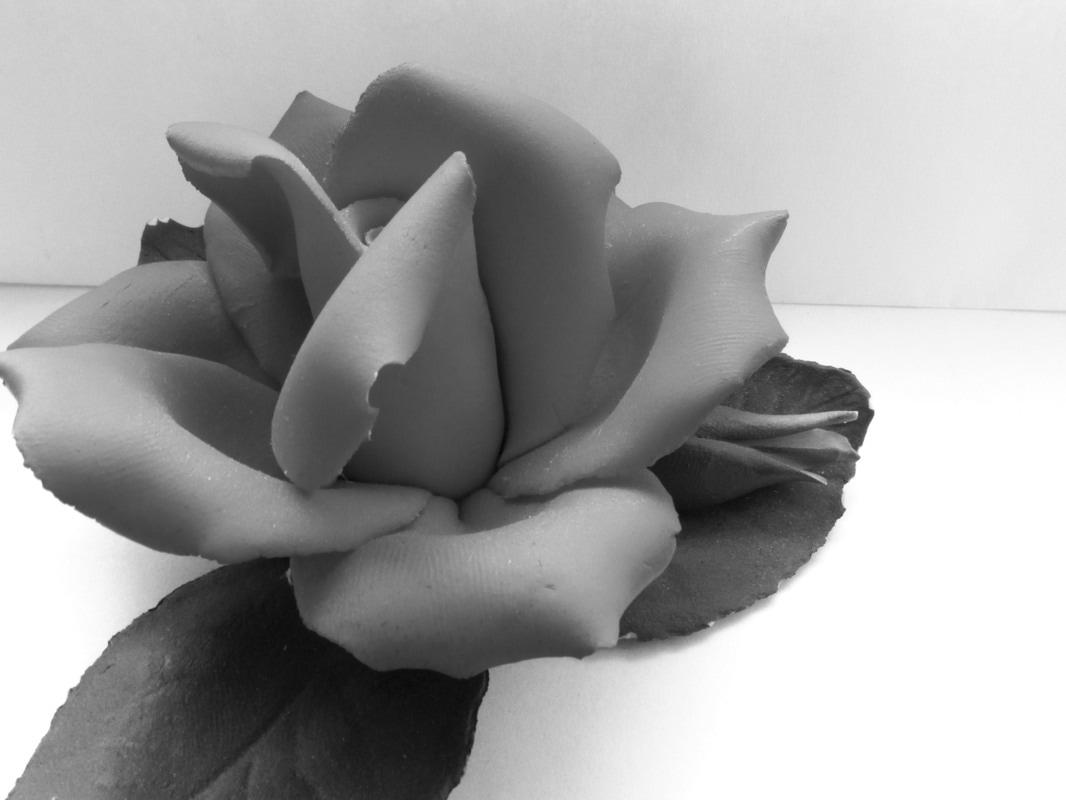
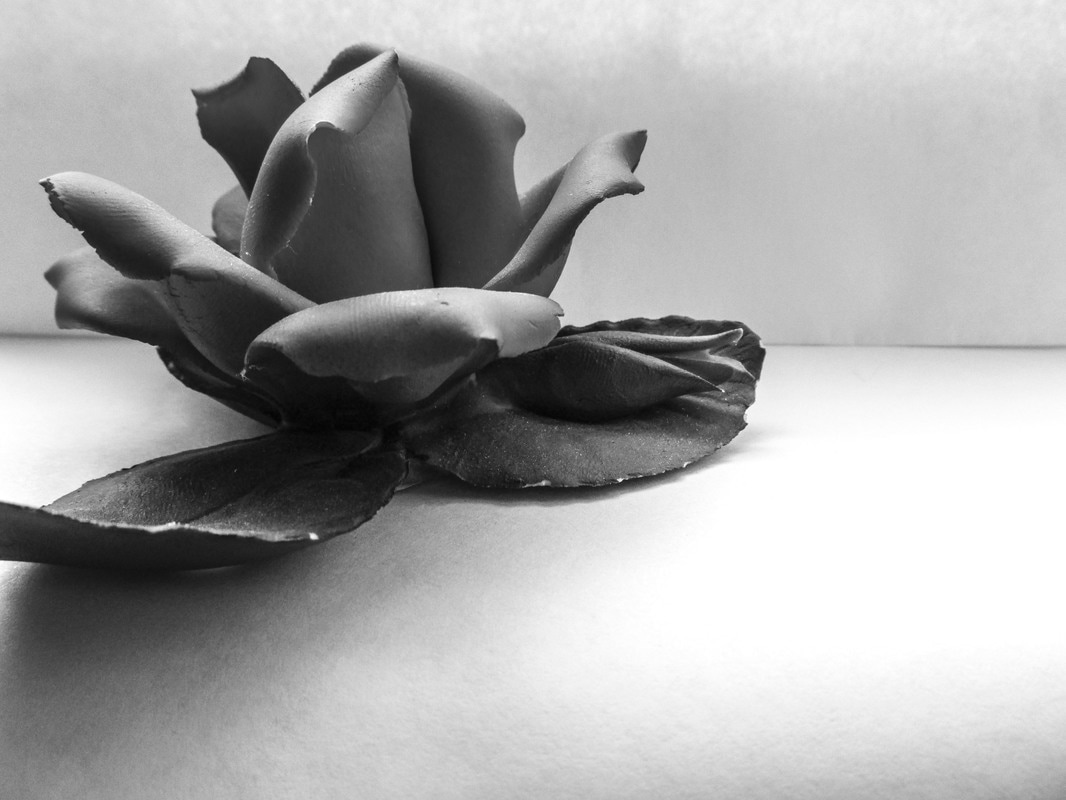
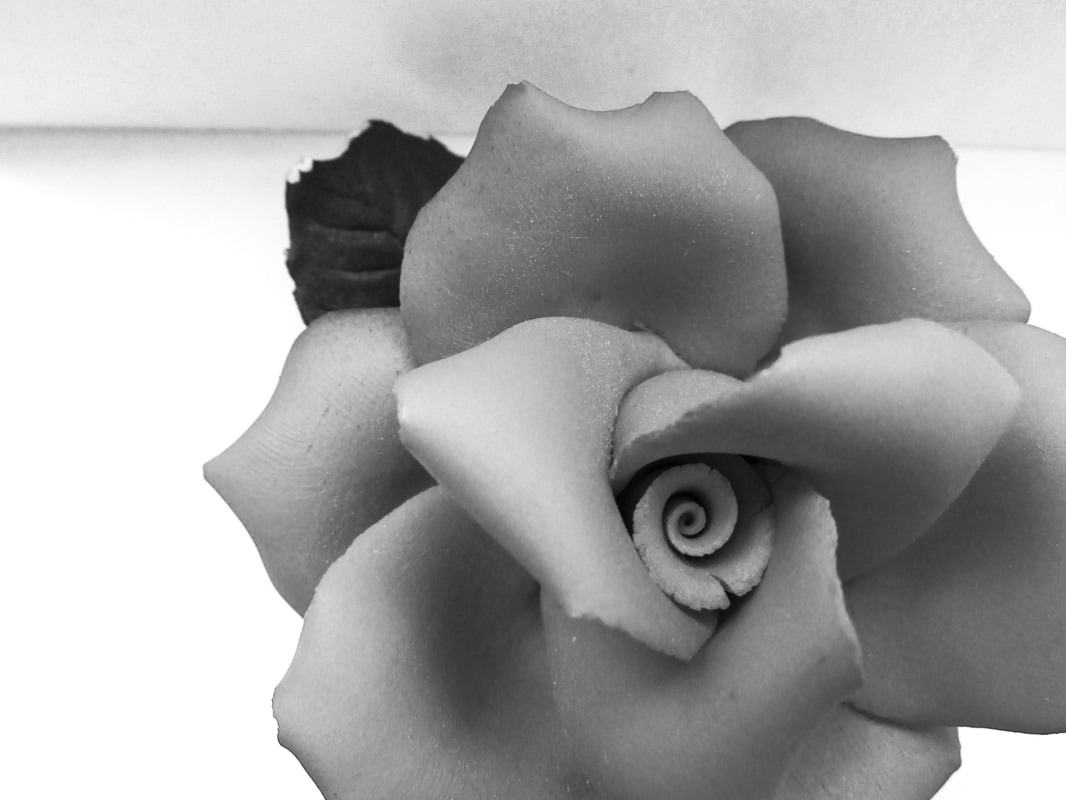
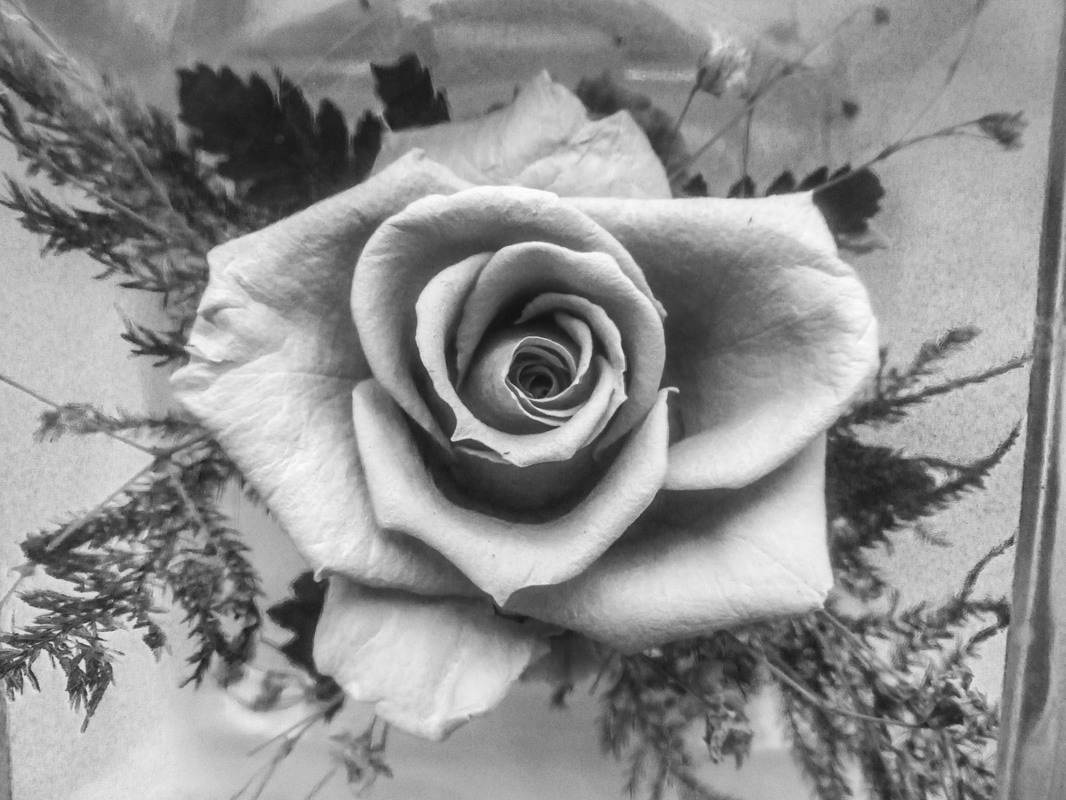
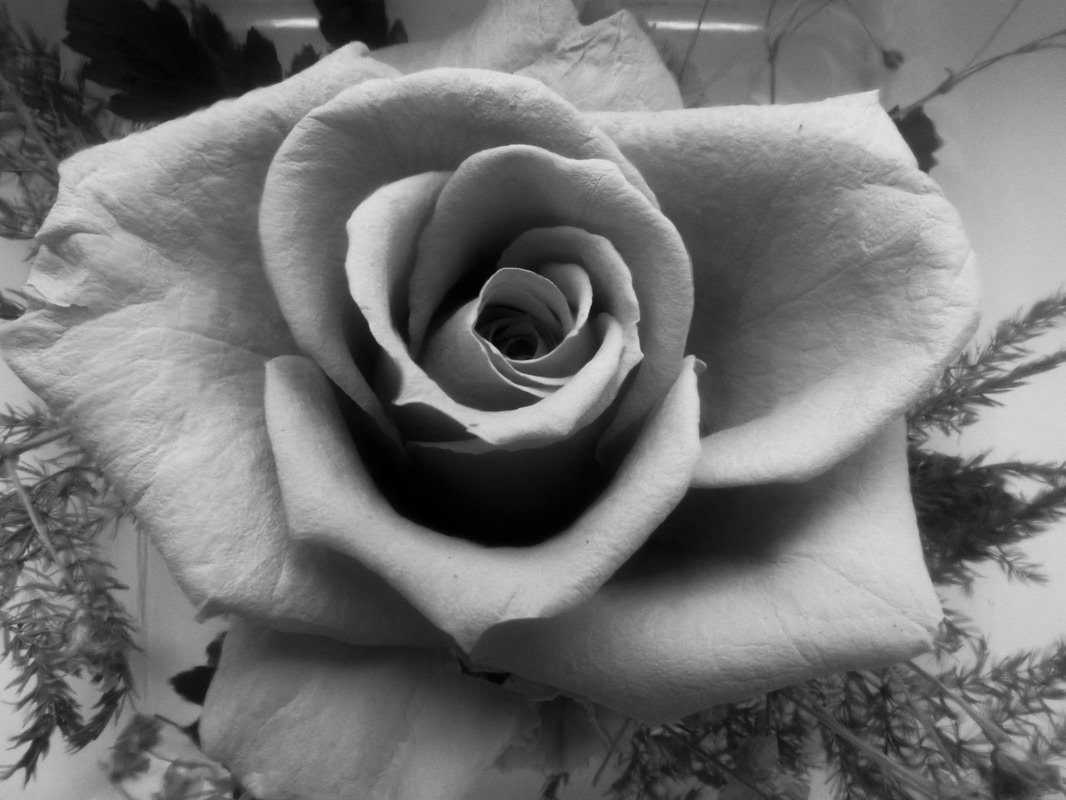
Double Exposure tutorial: www.youtube.com/watch?v=-19z_ldzPes&t=460s For the fifth photo assignment I decided to shoot pictures of my two nephews. It was kind of spur of the moment as I forgot they were coming over, and I had to babysit them. I originally intended to try light painting for this assignment because it seemed easier than trying to photograph two children under the age of four. I had a difficult time getting pictures of them that weren't blurry because neither of them could grasp the concept of not moving. The fact that I was able to get at least 10 non blurry pictures was sheer luck. I learned that it is much easier to shoot portrait pictures with older subjects, but it is more fun to shoot subjects that don't understand what you're trying to accomplish. 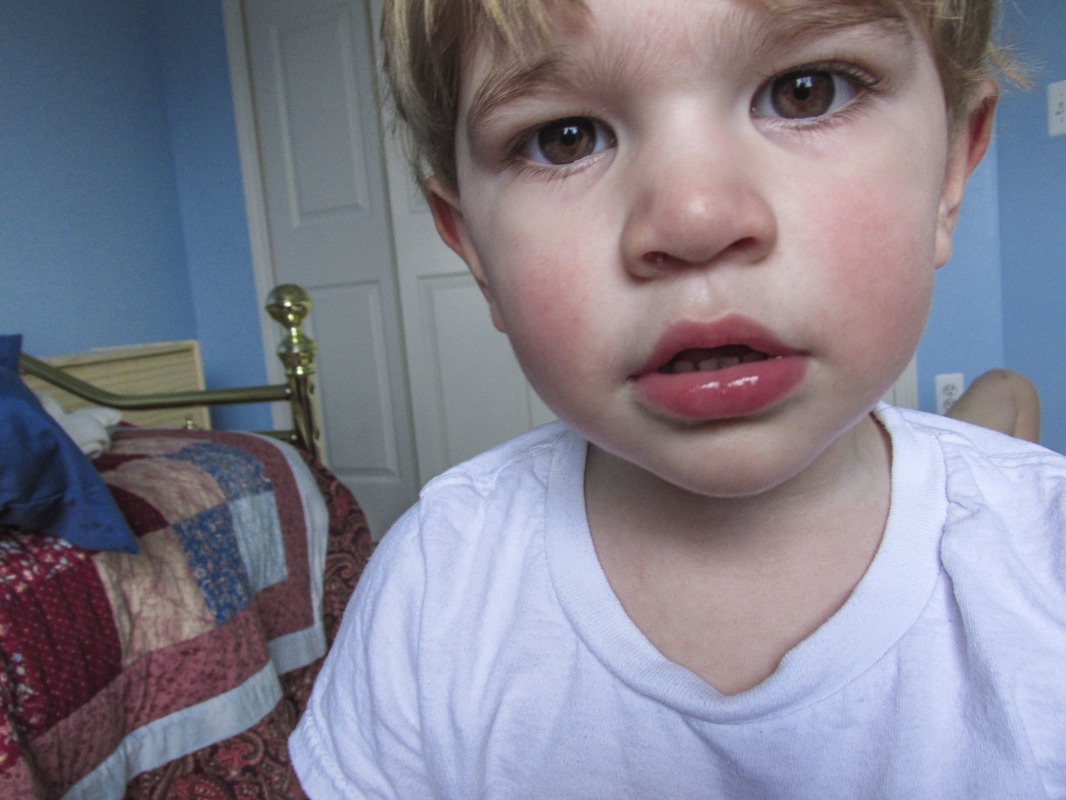 Exposure: f3.5, 1/40 sec, and ISO 200. Editing: contrast, shadows, clarity, and vibrancy. For this photoshop assigned we had to take a minimum of three overlapping pictures and Photomerge them in Photoshop to create panoramic pictures.  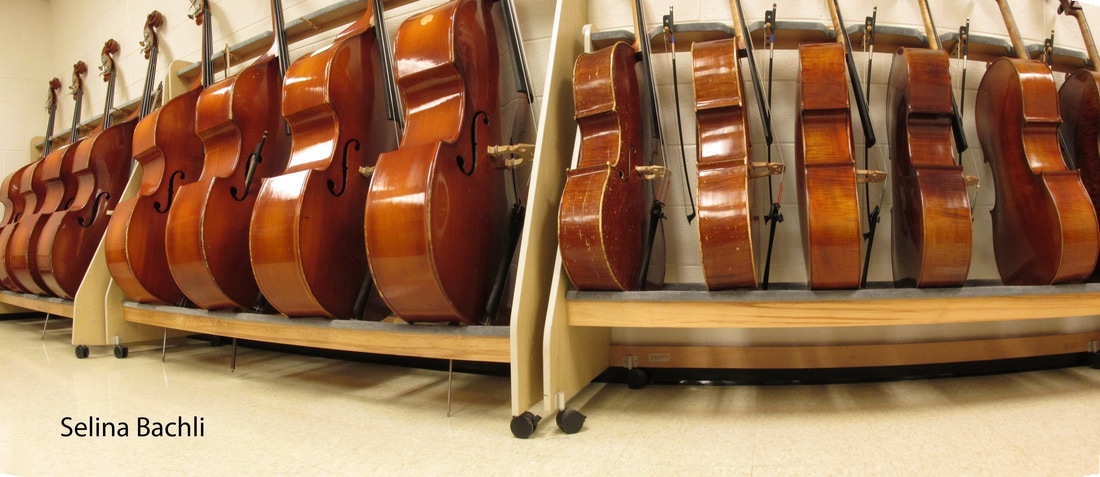 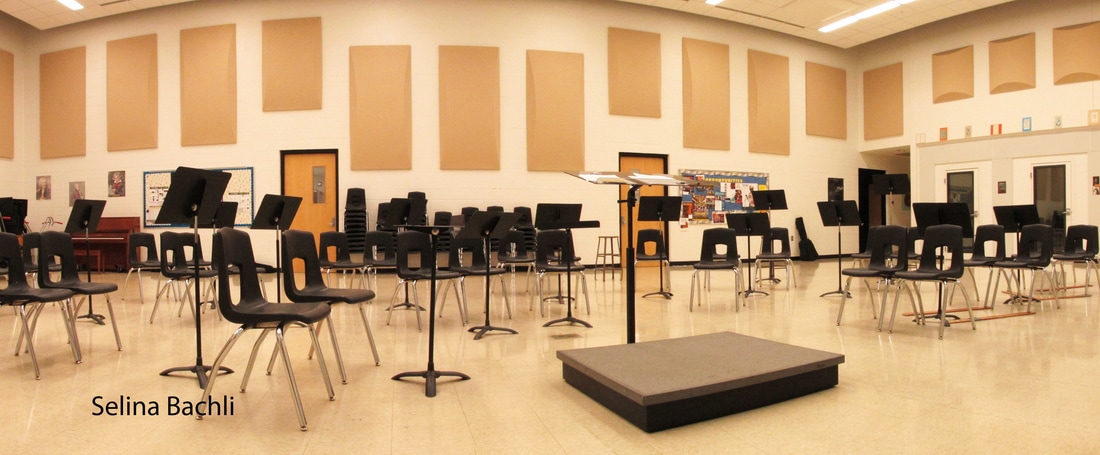 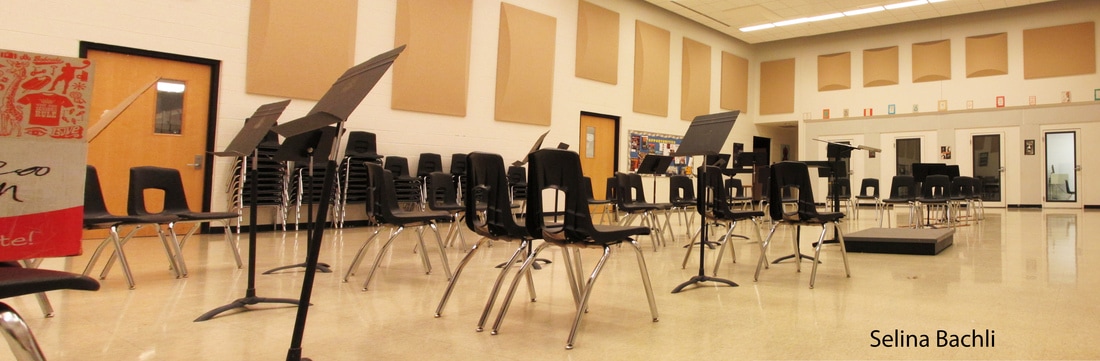 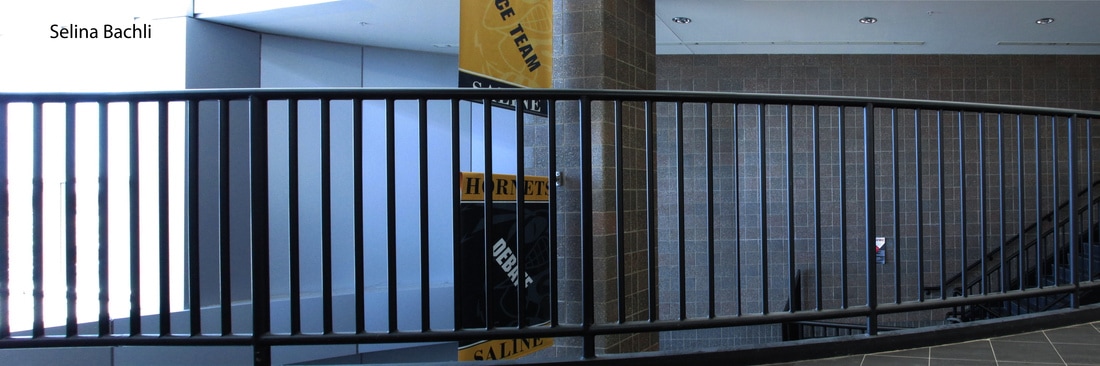 For this fourth photo assignment I tried to do black and white. I used a rose in a glass box and a ceramic rose as my primary subjects. The hardest part of this assignment was turning a color picture into a black and white picture that wasn't just pure gray tones. It was challenging to capture an image that I could imagine would look good in black and white. It was cloudy when I shot the pictures, so they are not as bright as they probably could be. Because of the sun placement in the sky, I lost some of the shadows. I learned that it's much easier to shoot the pictures in color and then control the process of turning them black and white. 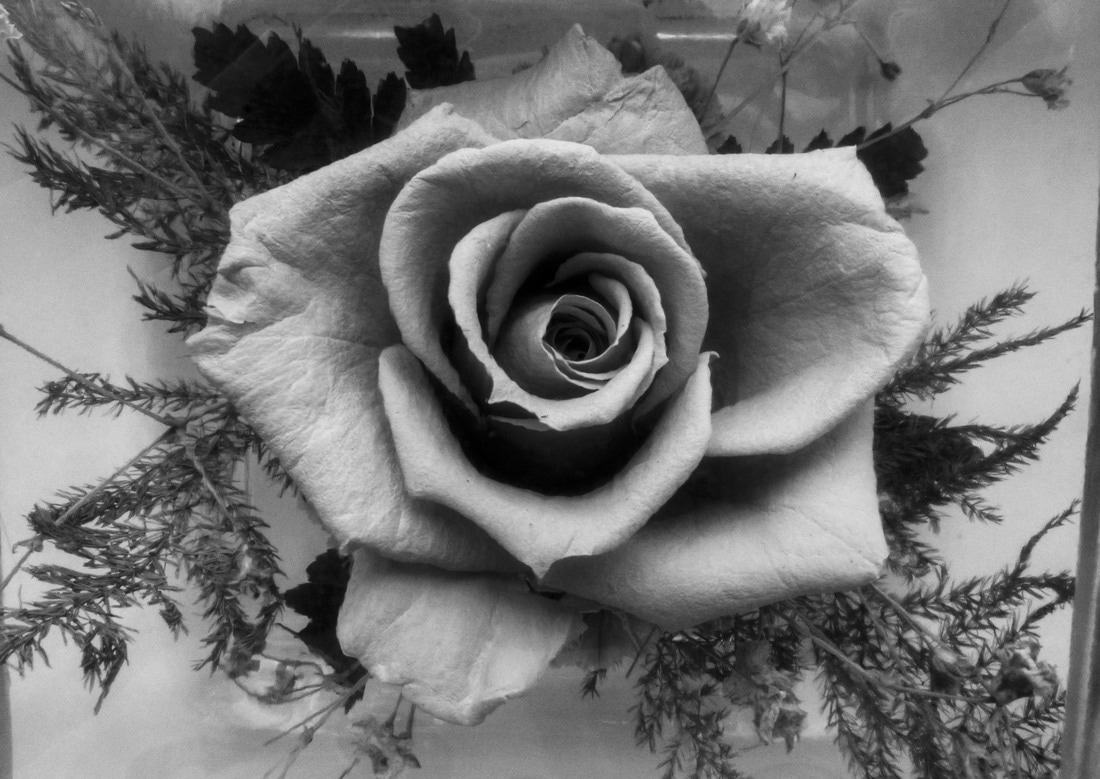 Exposure triangle: f8.0, 1/30 sec., ISO 200. Editing: Contrast, saturation, shadows, and blacks. |
AuthorWrite something about yourself. No need to be fancy, just an overview. Archives
February 2017
Categories |


 RSS Feed
